How to Build DIY Modern Electric Fireplace and TV Wall
When we moved into our builder grade home, the massive living room needed a focal point to make it look cozy. And what’s better than a heat source to make a room look warm and inviting? If you’re looking to build a faux fireplace wall with a tv mount look no further! You’ve probably seen it on TikTok – make your own with this step by step tutorial.

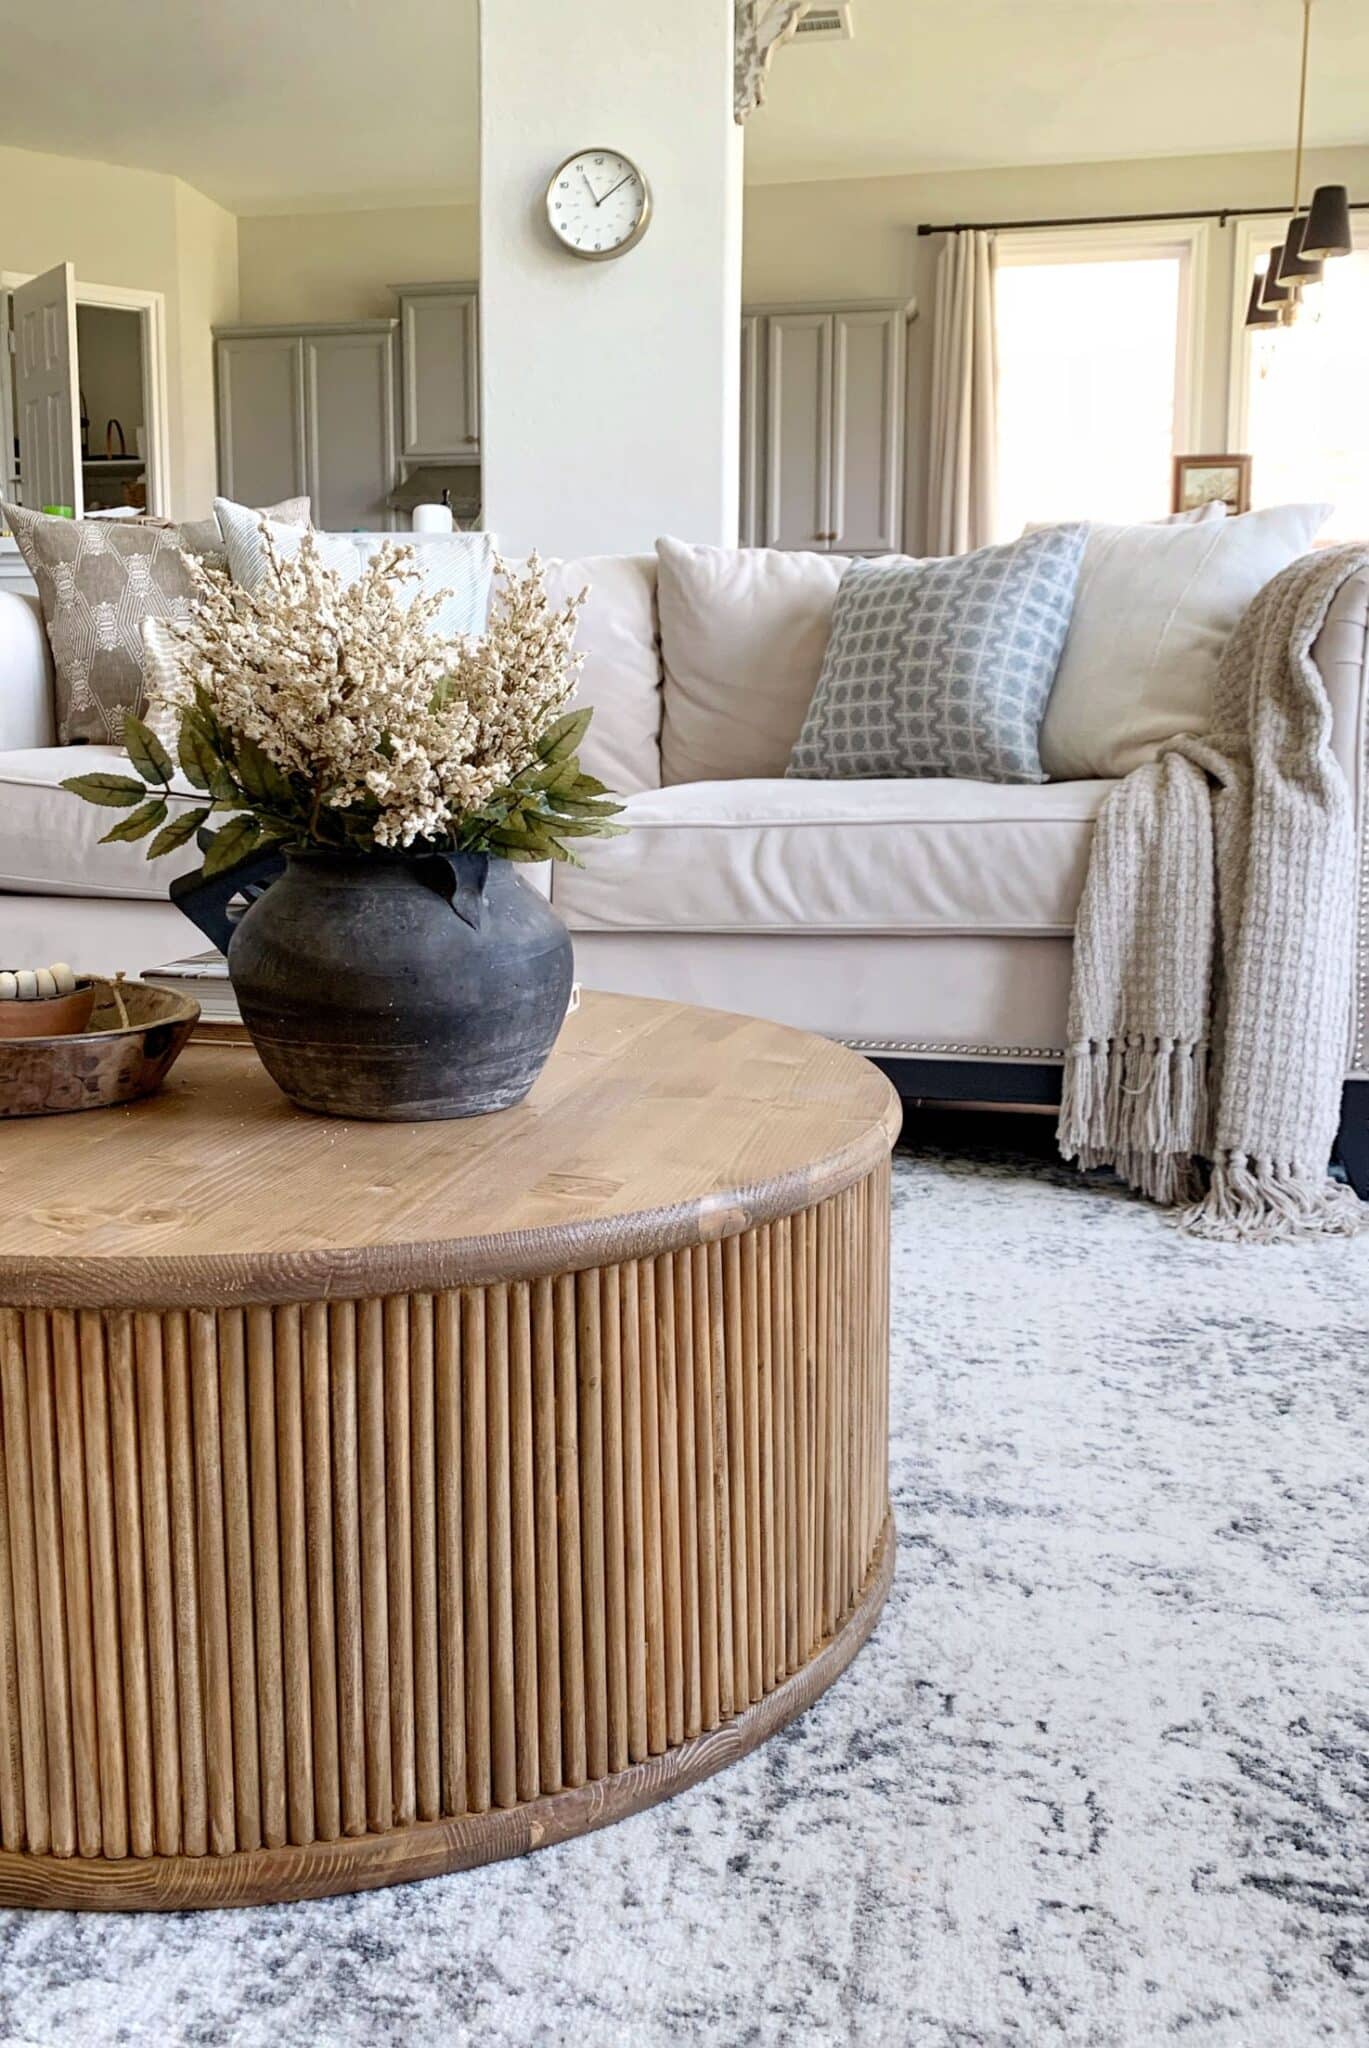
Friends, I am so excited to finally share with you, our DIY Fireplace tutorial which we made in partnership with Home Depot! Before we dive into the blog post, let’s take a look at the before photo of my living room where we added the modern electric fireplace wall. Earlier this month I made my own coffee table to go in our living room, if you missed that check it out here!

I cannot believe we built this beast of a fireplace surround wall! A huge thank you to Home Depot for helping me bring this project to life! Now, let’s jump right into this DIY project. If you don’t have a set of tools at home I would check out my Beginner’s Toolkit Essentials Guide before getting started.
Before You Begin

Design and Layout
Before you head to the hardware store, take a few days to finalize your design and layout for your new cozy fireplace. Whether it’s an awkward nook you want to design for or your master bedroom that needs a focal point, there are a ton of modern looks to choose from. I looked at a lot of modern fireplaces before deciding on a large square fireplace area with no trim pieces. I wanted a clean, simple front wall with no fireplace mantel. Instead, I chose a design with a long floating hearth or bench under the fireplace opening.
It took a long time for me to come up with the exact measurements but in the end I kept it simple at 10 feet by 8 feet tall so I would have to make less cuts. I wanted to be able to install a 65 inch tv similar to the Samsung frame TV so the large surface area gave me plenty of room to work with. Make sure to locate an electrical outlet on the back wall before you begin.
I would also select a good quality electric fireplace before buying material so you can include those measurements in your layout. And yes, electric fires will heat up your space just like a gas fireplace would with the added benefit of controlling the temperature.
How to build Electric Fireplace Wall
To make this easier to follow for your first time, I am breaking down the project into a three step process, Framing, Drywall, and Finish. I’ll link all materials and tools needed for each step of the way as well. Please gather necessary protection like eyewear and ear protections when working with power tools!
Phase 1: Framing

Materials and Tools Needed
- Electric Fireplace Insert
- Framing Studs
- 2.5″ Wood Screws
- 3″ Wood Screws
- Kreg Jig Pocket Hole kit
- Multi Tool
- Miter Saw
- Rafter Square
- Impact Driver
- Stud Finder
Instructions
- The dimensions of your electric fireplace will determine the size and opening of the frame you build. Our new wall for the fireplace is 10 feet wide and 8 feet tall. The first step is to mark your studs on the wall using your stud finder and make sure your frame can be screwed into studs. The next step is to remove the baseboard if you have one, we used our multi tool to make cuts and pry it off.
- Next, we made the two side frames or the side walls of the frame. We used the entire length of the stud (96″) for the height and made our spacers 8″ wide. The frame was constructed on the floor to make it easier and once everything was screwed together using 2.5″ wood screws, we lifted it up and screwed the side walls into the studs on our existing wall. When building the frame you can use a brad nailer to secure the wood pieces before screwing them together. This keeps the frame straight while you drill. I also recommend drilling pilot holes to make it easier to attach them together.
Side Note: Use a rafters square to make perfectly straight lines on your framing studs before cutting. - Once the side frames were in, it was time to make the front frame with the opening for the fireplace insert. Determine what height you want your fireplace to be, ours is 15″ off the ground and we also have a long bench underneath it.
- Next we made the front face of the frame on the floor with a 16″ gap between each stud. Once that was screwed together we lifted it and screwed it into the existing side frames using 4″ wood screws
- If you are not making a bench or hearth you can directly move onto drywall installation. To make the bench we used the same framing studs and made it 8′ long to keep it the length of the stud. The bench is 14.5″ deep once complete and the thickness is 4″. We covered the bench frame with 1/4″ plywood and applied construction adhesive, then screwed it into the frame.
- Now you’re ready to install the electric fireplace into the opening, follow the instructions for your fireplace and tape everything up with plastic sheeting to protect it from dust and paint for the next stages.
Phase 2: Drywall Installation

Materials Needed
Instructions
- We used 4×8′ sheets of drywall so we measured the frame and marked where our first cut on the drywall would be. Use a Drywall T-Square to mark the cut on the drywall, score the cut with a sharp knife and snap to break off.
- Installing drywall is very simple, you just need coarse thread drywall screws to screw it onto the frame. Repeat until the entire frame is covered, including the top of the fireplace.
Phase 3: Finishing the Surface

Materials and Tools Needed
- Pre Mixed Joint Compound or Drywall Mud
- Mixing Attachment for Drill
- 12 inch Taping/Drywall Knife
- 4 inch Taping Knife
- Bucket
- Drywall Tape
- Metal Corner Bead
- Sanding Block
Instructions
- Take out some joint compound in a large mixing bucket and thin it with 1/4 cup of water. I filled my large bucket about 1/3 way. Mix it well using the mixer attachment for the drill.
- Use a 4″ taping knife to apply the mud (joint compound) onto all the seams where the drywall meets. Do this one seam at a time so the mud doesn’t dry.
- Cut a piece of drywall tape and stick it on top of the seam where you put mud on.Now take your taping knife and smooth it over to remove excess mud and air bubbles. Repeat process for all seams.
- For the corners of the frame we used metal corner beading and screwed it in with the same drywall screws. Cover the corner beads with a layer of joint compound.
- Once all seams and corners are covered with one coat of joint compound, apply a second coat but this time make it wider than the initial layer. This makes sure your seams don’t have a visible bump when the wall is done.
- Leave for 24 hours and then sand gently with a 220 grit sanding block. At this point apply a thin layer of joint compound on the entire wall, ensuring a smooth, even coverage. Sand once more after it’s dry and you’re ready to prime and paint! You can choose the same color as the rest of the walls in the room for a seamless look or go different.

To finish the fireplace wall we did two coats of Romabio Limewash in Avorio White. It is necessary to do two coats of primer after mudding the wall and before applying Limewash or paint. For the bench we did two coats of Henry’s Feather Finish using the 4″ Taping Knife. To keep it smooth we used a drywall sponge to go over the concrete while it was still wet. I wanted a soft, warm white wall color but you can experiment with any other light paint colors you like.
For a project like this, I highly recommend watching the videos of this electric fireplace tutorial on my Instagram story highlights. Sometimes things are easier to understand visually rather than reading about them! Let me know if there are any questions I’d be more than happy to answer. I hope you enjoy building your new fireplace as much as we did!


5 comments
Hi! I am so in love with this fireplace DIY and would love to incorporate in my own home. However, a question I KNOW my husband is going to ask is “where will the Xbox and PlayStation go?” Any tips on this while maintaining the minimalist feel of the fireplace?
Hi! We had the exact same issue in our house! We ended up putting the Playstation on top of our subwoofer to the left of the fireplace and I made a cane box to cover it all up! Check out my instagram to see how I did that!
What is the wall color?
Hi! The main wall color in the house is Agreeable Gray by Sherwin Williams. The fireplace wall is a limewash called Avorio White by Romabio