
Problem Spaces Episode #2 Recap: “Hidden Spaces”

When you buy your house, you move in with specific ideas about what you’ll do with each room. But as life happens, kids enter the picture, and the needs of your family change, so do the spaces within your home.
What may have been just an entertaining area may now need to be multifunctional – one room may serve as a home office, workout area, and storage space all at once. What may have just been a stairway landing may now become a homeschooling area! As your family grows and changes, your home will need to grow and change along with it.
While you can’t magically tack on some square footage whenever needed, you can do affordable renovations to meet your needs. That’s exactly what I did in this episode of Problem Spaces.
While the Peels were struggling to make a multifunctional room function, the Weises were doing their best to make one hidden room reflect the joy within it. They were tough asks, but with some fun and functional design techniques, each family got a room transformation that gave them exactly what they needed.
Creating Multiple Spaces out of Hidden Ones: Meet the Peels

In this episode of Problem Spaces, I met Ryan and Crystal Peel. A sweet family of 4 with two kids under 5 (Audrey, 4, and Owen, six months) who struggled to make the most out of one strange room between their kitchen and dining room.
They needed the room to function as a home office, gym, storage area, and entertaining space – all within 10 feet of space. If you’re overwhelmed by reading that, I was in the same boat! I was stumped when I walked into the room, and you can check out the full episode to catch the in-the-moment reaction I just couldn’t hide.


This room was suffering from quite a few problems:
- It had workout equipment, including a giant bike and dumbbells, cluttering the area.
- A large office desk providing little to no storage was taking up much space.
- There were files on the floor because of the need for more storage space.
- The room was a high-traffic area. When they entertained, everyone ended up in that space.
With the room needing to do so much, it had become a cluttered office space that wasn’t working well for any of its intended purposes. And because the room was visible from almost every vantage point downstairs, it wasn’t appealing to the eye.
So the goal was to create a space with both definition and flexibility. I needed to make a cozy space that met all the room’s needs while making it presentable.
With a renovation budget of $4,000 for the entire room, it was a tricky ask. But I got to work because, as a homeowner and mama myself, I know that sometimes you have to work with what you’ve got!
The Solution


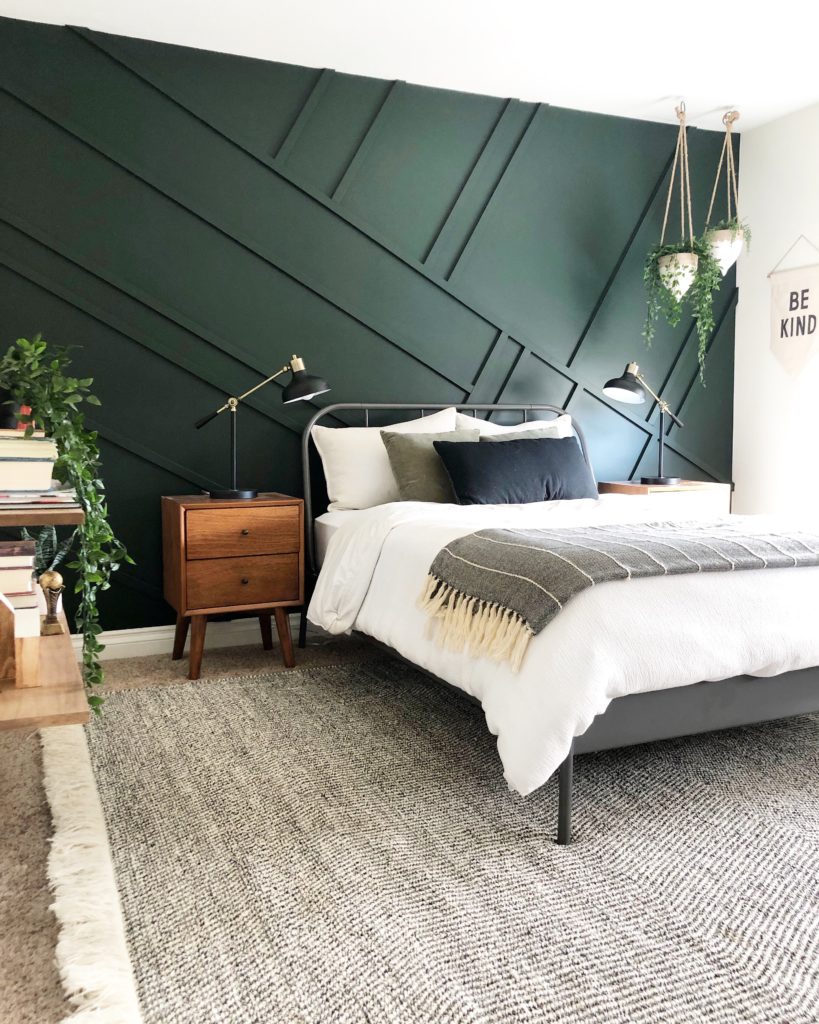
First, we pushed everything back against the wall to open the room. Then, I brought in a gorgeous Black and Cane desk with built-in storage that would go right in front of the window. This gave Crystal a more calming work area while still fulfilling her work needs (and checking the box for storage too).
Next, I added tall curtains in a soft faux linen fabric over the window. This window treatment draws the eye and makes the room feel more spacious. These curtains are actually one of my top selling items from Amazon! I have them all over in my house and you guys love them too.
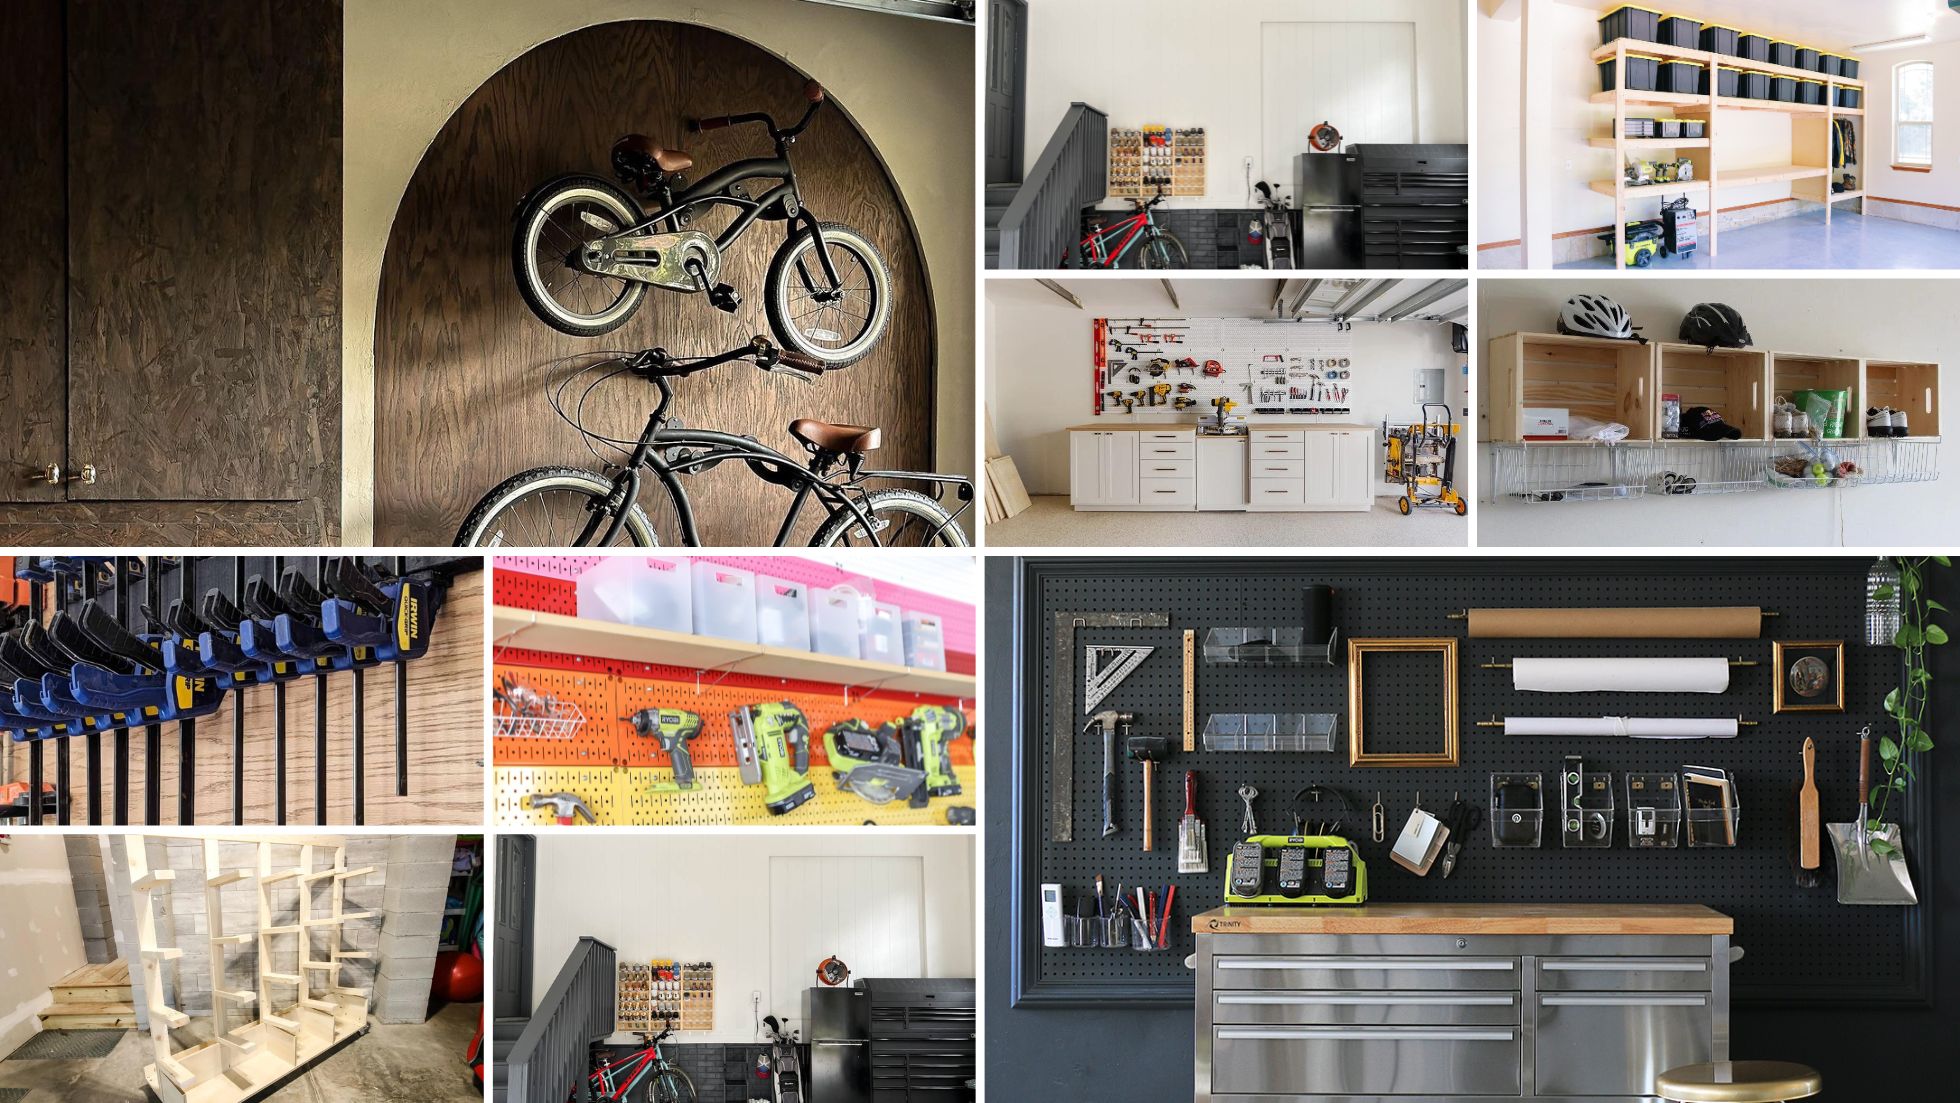
As for that giant bike, I worked with my go-to carpenter, Carlos, to make a custom cabinet that doubled as a hidden space for the bike. Carlos and I came up with design techniques that allowed the cabinet to look flush with the wall and create a built-in look. This way, they can cover the bike and use the cabinet as a countertop for entertaining when it’s not in use! I loved this project’s outcome, and you definitely have to check out the full episode to see it for yourself!


To complete this room transformation, we added molding to elevate the space and chair rails to help the room look seamless, blending the cabinetry into the wall. Finally, I painted the walls and ceiling a mid-tone green, Backwoods by Benjamin Moore to add to the intimate and cozy feel.
The result was a beautiful multifunctional space with a timeless and inviting feel. The Peels were blown away!
Shop this space:

Turning a Dull Space Into a Fun One: Meet the Weises

I stayed busy making the most out of hidden spaces with the Peels, but I’m so glad I had time to fit in another project: reorganizing the homeschooling room of Megan and Jeffrey Weise.
This project was extra special to me. After the Weises shared that Megan had been diagnosed with cancer, I wanted to give her a room transformation that would lift her spirits and give her a dynamic space to be creative with her kids.
Their homeschool space was basically the tiny landing area of their stairs. What excited me even more about this project was that many people overlook their landing area. The fact that the Weises were already trying to make it function for their family really lit me up! With a budget of $5,000, I couldn’t wait to flesh out what they’d already started.


The Solution
When you have a tight space, using every square inch of it’s essential. So for this room transformation, I leaned into custom cabinetry to make the most of their wall space. And a budget of $5,000 served that perfectly!
I reached out to Carlos (again!) to create a narrow floating desk for the front wall that would give both kids a space to work. I also added cabinetry on the other side of the room to add storage space for all their school supplies.

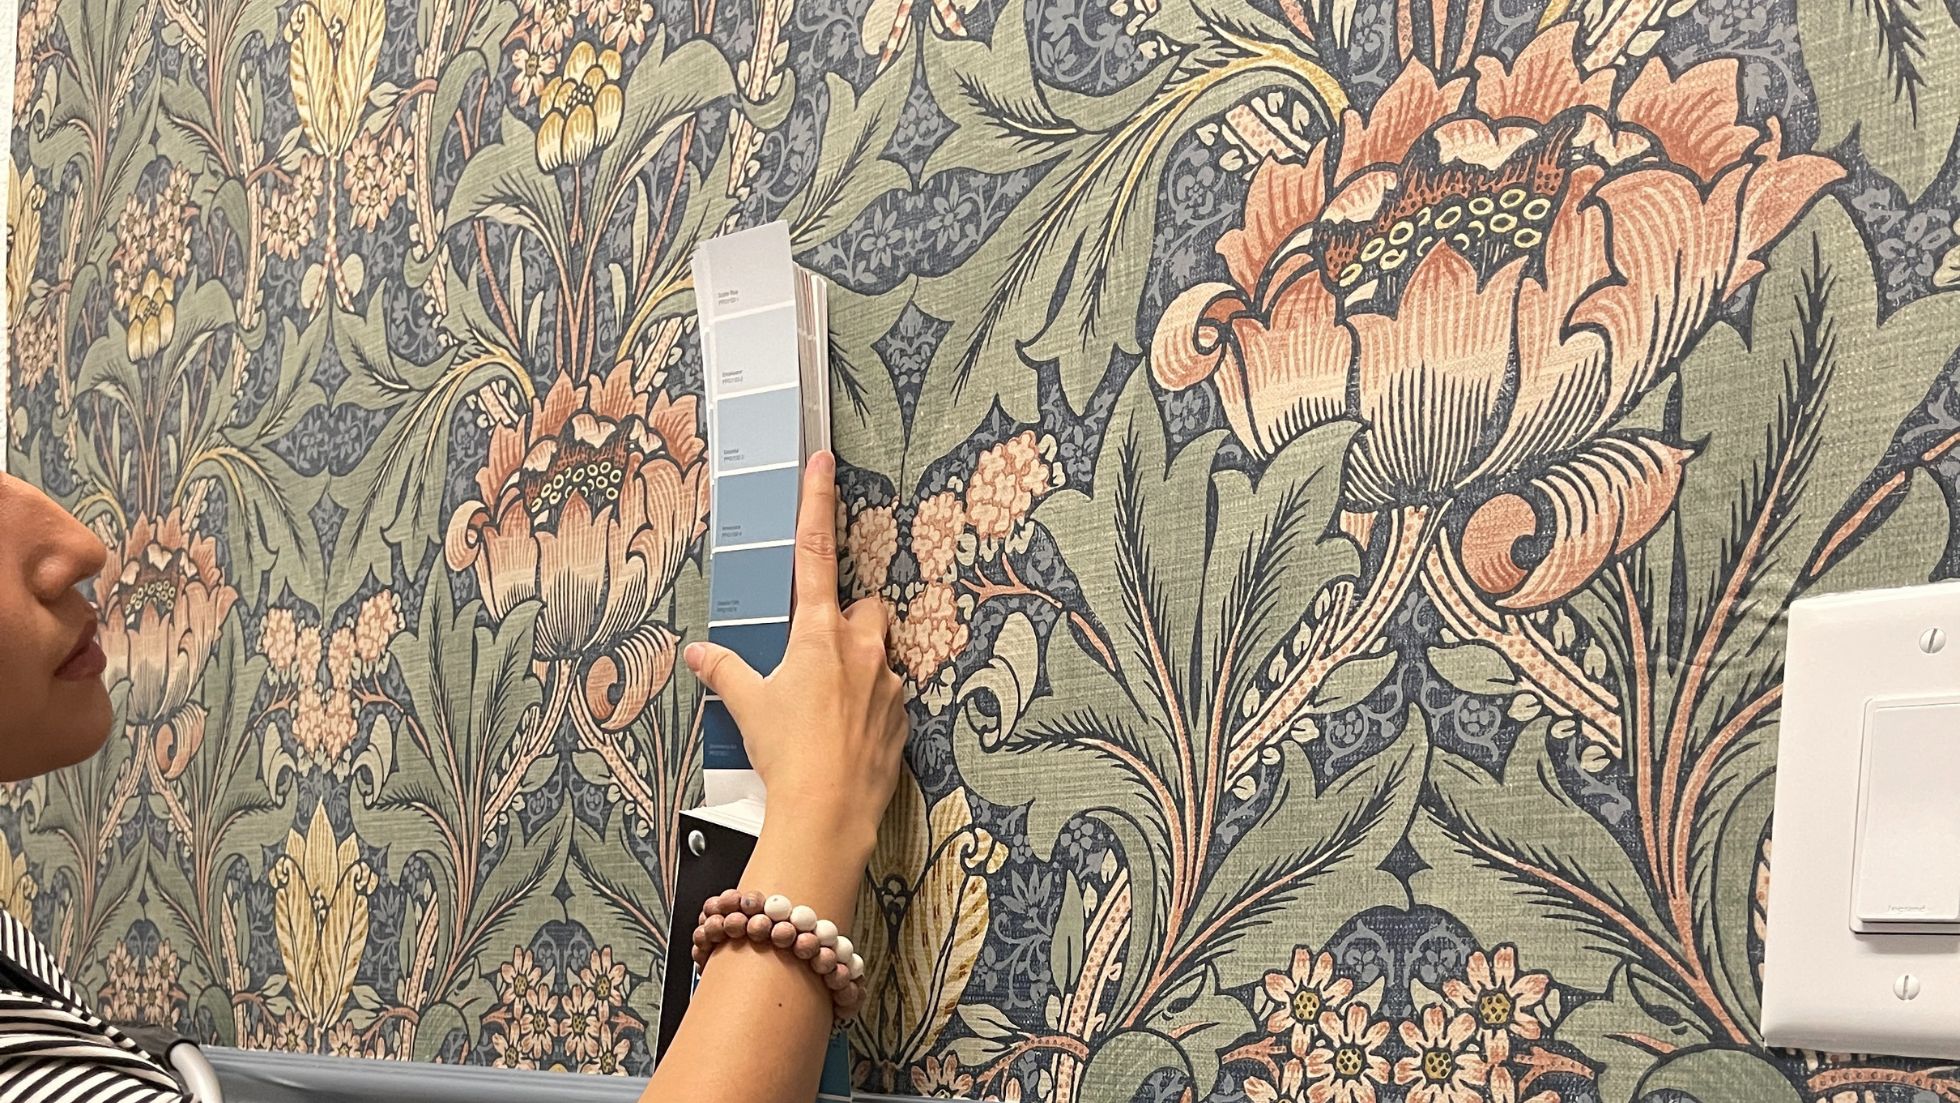
After that, I contacted my go-to painter, Brittany. Because this was a kids’ space, I wanted to make sure we chose colors for the walls and trims that were light enough to pull off the timeless but fun look we were going for. I pulled out one of my simple but effective design techniques and chose a light wood tone to bring warmth to the room. And as you’ll hear Brittany mention in the episode, sealing the wood also helps it become more durable– a must for furniture that kids will use daily. We used Chantilly lace on the walls, Boothbay gray on the built ins and a natural stain on the wood.


I added accessories that organized the area for some final touches in the space. I made sure there were pops of color in subtle places to create a sense of energy in the room.
DIY project: If you watch the full episode on Max, you’ll also get a quick tutorial on creating a pinboard that doubles as a chalkboard! It was my personal project for the Weises, and it came out so great!
When all was said and done, we accomplished a lot! We transformed a tiny space into a functional one, and I can’t wait to hear about all the milestones the Weises reach in that area!


Shop this space:
Make the Most of Your Space
Getting creative and making the most out of your space can be the key to helping your home grow with you. Whether you add custom cabinetry, refresh the area with a rich coat of paint, or find innovative design techniques to make the room feel bigger, a room transformation can make the spaces in your home go the distance. You just have to make the most of a hidden space!
Want to see more of my unique design techniques? Head over to my website or follow me on Instagram for more inspiration.
This post contains affiliate links to products that I used or recommend. If you purchase something through an affiliate link, I may receive a small percentage of the sale at no extra cost to you. I really appreciate your support!


5 comments
Why didn’t you show the reveal of the homeschool room to the family?
The format of the show was to only reveal the main storylines room to the family and the smaller project was revealed off camera
Hi Ms. Fariha!
Thank you for sharing your wonderful idea of how to cover the huge Peloton bike! I have the same issue in my living room so I’d love to try to make your beautiful cabinet! I have a question though- my Peloton bike, with the Peloton mat that goes under it, is 36″ deep. I think all Pelotons are the same size and I see your design calls for a 26″ deep cabinet. Did you replace their mat with a different one? Or did you push the bike so it’s right on the wall? Do they have to move the cabinet, then move the bike away from the wall each time they use it? Any advice you can offer is much appreciated! I was so excited to see your solution as I think it could be the perfect answer! Thank you in advance for your advice! 🙂
Hi Anita! I pushed their pelaton against the wall but it still had enough room to comfortably get on and off and use it while in that position. Hope that helps!
Thanks that DOES help! But did you also get rid of the Peloton mat that goes underneath it? I’m trying to do my measurements to recreate your box, but the mat is 36″ across. Thanks again for actually answering! So few bloggers take the time so I truly appreciate it!!!