How to Install Picture Frame Wall Molding

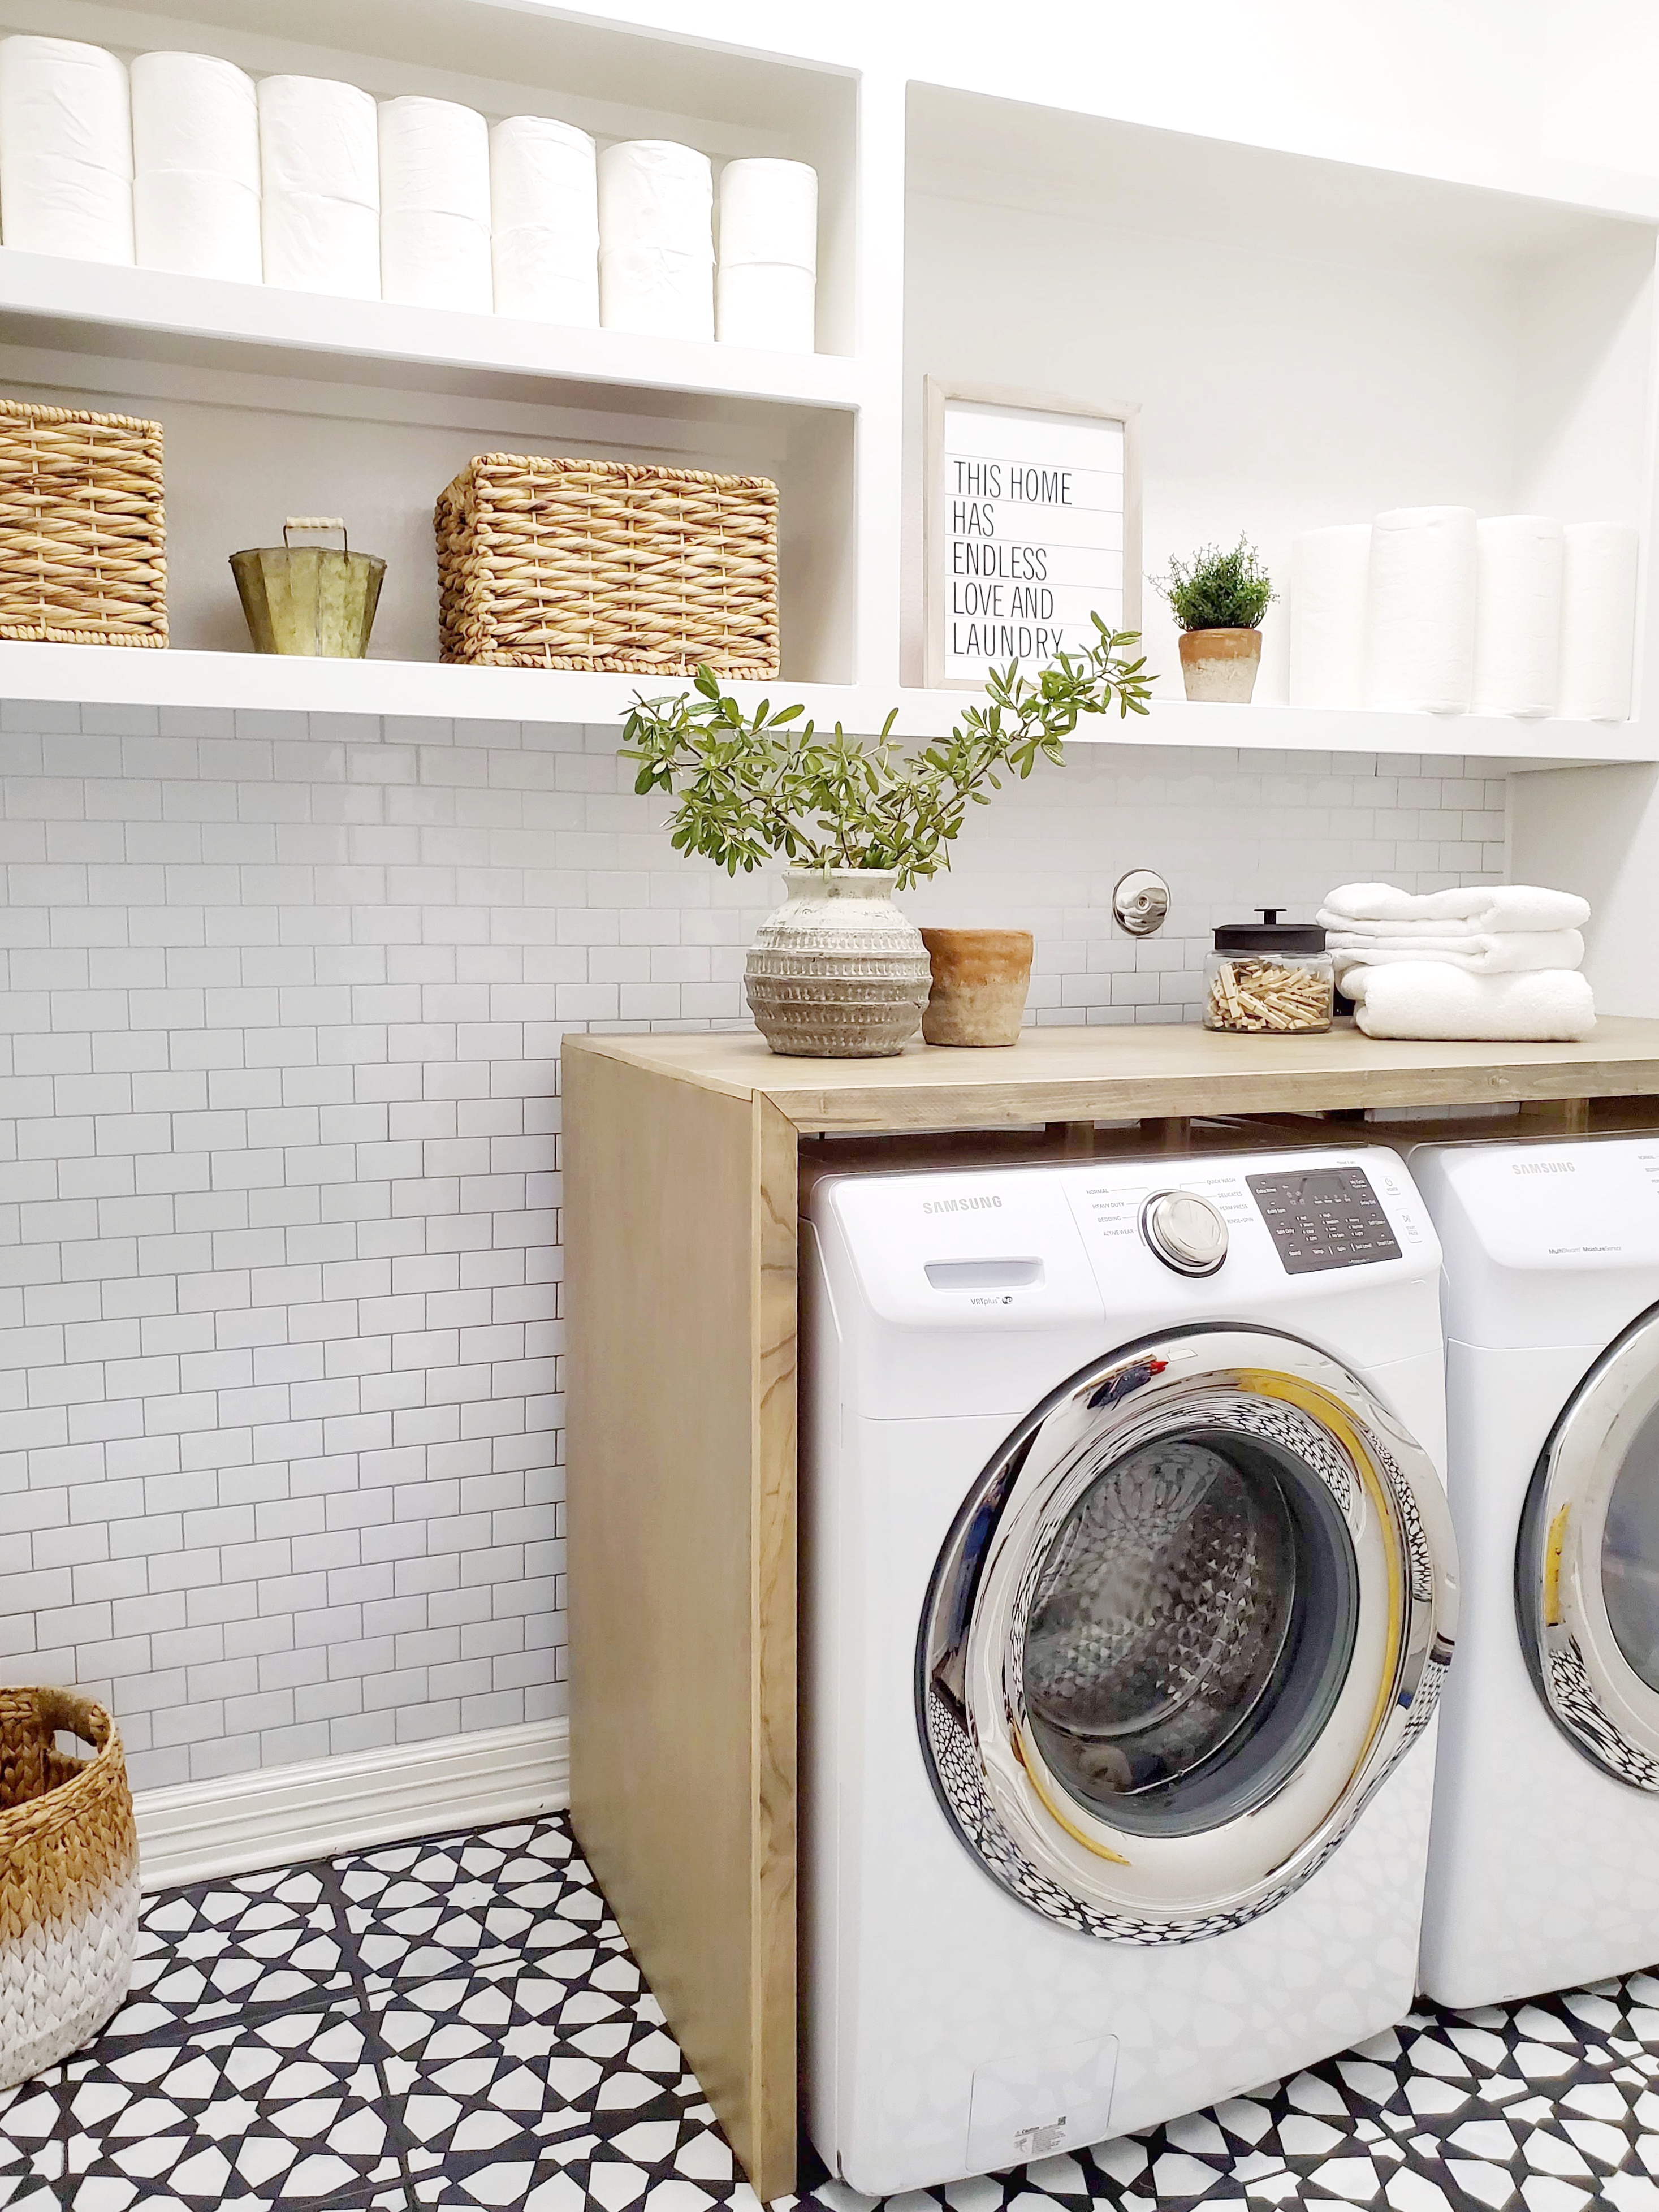
Adding picture frame molding to your home is a fantastic way to elevate its aesthetic appeal. This DIY project not only adds a touch of elegance but also creates visual interest on plain walls. Whether you’re looking to spruce up your dining room, living room, home office, or even a laundry room, this guide will walk you through the process.
I’m a huge proponent of taking basic, builder grade spaces and turning them into custom homes that reflect your design style. One way to achieve a custom designer home look is by adding millwork. Think crown molding, traditional chair rails, or in this case, picture frame molding boxes. There are so many different ways you can incorporate moulding and millwork into your home and picture frame wall molding is one of the easiest ones to DIY especially if you are new to power tools.
In fact, this is one of the few types of decorative molding that can be done WITHOUT power cutting tools like a miter saw. You can cut at a 45-degree angle with a simple tool called a miter box and a hand saw. Let’s get started! Before diving into the installation, gather all necessary tools and materials:
Tools and Materials Needed
- Picture Frame Molding
- Tape Measure
- Long Level or Laser Level
- Pencil
- Power Miter Saw or Hand Miter Box
- Finish Nail Gun or Brad Nail Gun
- Construction Adhesive
- Nail Set
- White Wood Filler
- Sandpaper
- Caulk and Caulking Gun
- Paint and Primer
- Drop Cloth

How to Install Picture Frame Molding in 6 Easy Steps

Step 1: Plan Your Design
The first thing you need is a solid design plan. Measure the walls where you’ll be installing the picture frame molding. Decide on the number of boxes, their sizes, and the spacing between them. Remember to account for wall studs when planning your layout. While you don’t need to nail picture frame molding to wall studs, it’s always good to locate them before a project in case you need to hang something heavy like a wall sconce or find wiring. Decide whether you want to add trim work to the entire wall or entire room. It’s always a good idea to draw your design on paper before buying material. This helps calculate how much trim molding you need to buy. Another tip is to leave at least 3-4″ from the baseboard molding to install your picture frame trim. Same with the bottom of the crown molding, leave at least 3-4″ above the top of the box.
Step 2: Mark the Wall

Use a tape measure and a pencil to mark the layout on the wall. Draw faint lines to indicate where each piece of molding will go. To help visualize the design I recommend using painters tape to mark out the boxes – sort of a wall map for the boxes. If you have boxes that are more than 8′ long I suggest getting 12-foot lengths of trim so you don’t have to make too many joints.
Step 3: Cut the Molding

Cutting the molding accurately is crucial for a professional look. This is probably the part that makes most people nervous but I promise you, once you get the hang of making a 45-degree cut this will be easy peasy. If the type of moulding you’re using is thin enough you can use a miter box to make the cuts, straight lines or angled. You can use a hand saw to cut each trim piece. The faster way is to use a power miter saw which is my preferred method.
Grab your measuring tape, measure the length of each piece and make your angled cuts. I would cut each box at a time because measurements can vary and it gives you less chances of making mistakes if you cut pieces one by one!
If you’re new to this, watching a YouTube channel tutorial on making these cuts can be a game changer. For long walls if you need to make a straight joint between moulding pieces consider making a scarf joint for more professional results. This is an angled cut which makes for a seamless joint.
Step 4: Install the Molding

Use your laser level or long level to make sure you nail all the trim pieces in a straight line. Start with the bottom trim piece of the box molding. Apply a bead of construction adhesive to the back of the molding and press it onto the wall. Use a finish nail gun to secure it, placing nails, ideally into the wall studs for a firm hold. I used my brad nailer because I didn’t have a finish nail gun at hand but that is the right tool to use. The nails it uses are much smaller and it makes a much smaller hole in the trim installation. Cordless nail guns are much more convenient to use than those that need an air compressor.
Next, install the vertical pieces. Then move on to the top piece. Ensure each piece fits snugly and aligns with your design plan. Continue installing the pieces on the rest of the wall.
Step 5: Fill Nail Holes and Gaps

Once all the molding pieces are installed, use wood filler to fill any nail holes and corner gaps. Smooth out the filler with sandpaper once it’s dry. Apply a thin bead of caulk along the edges of the molding to fill any remaining gaps. This step ensures a flawless finish.
Step 6: Paint the Molding

After filling and sanding, it’s time to paint. Prime the molding first, then apply your chosen paint color. You could create an accent wall by painting the moulding wall a different color. I personally like covering the entire room’s walls with moulding and painting them all the same color for a more classic look.
Tips and Tricks for a Professional Finish

- Use a Level: Ensure your lines are straight and your boxes are aligned.
- Corner Blocks:These can simplify corner cuts and add a decorative touch.
- Scarf Joints: For long walls, this joint helps to extend molding pieces seamlessly.
- Precise Measurement: Always double-check your measurements before cutting.
- Double Panel Moulding: Consider experimenting with different types of moulding designs like a box within a box or adding two boxes on top of each other, separated by a chair rail. The possibilities are endless when it comes to decorative wall molding.
Installing picture frame wall molding is a fun project that can transform any room in your home, from the dining room to the home office. With the right tools and a bit of patience, you can achieve a classic look that adds value to your home along with visual interest. Don’t forget to use a drop cloth to protect your floors and be meticulous with each step of the process for the best look!
FAQs

Can I install picture frame molding on textured walls?
Yes, I’ve added picture frame moulding to my media room walls without covering the texture. It’s not very noticeable. For other walls in my home I’ve covered texture by using a thin 1/8″ backerboard and even floating the wall with joint compound. It’s a personal preference mostly and also depends on how much time you have on hand.
What type of paint should I use for molding?
Use a high-quality, satin interior paint for durability and easy cleaning. I would even go for a semi gloss sheen to add some interest.
Can I use a hand saw instead of a power miter saw?
Yes, a hand miter box and saw can work, but it may take more time and effort.
If you’re looking for additional wall moulding design inspiration I have some great ideas for you right here!
How far apart should picture frame molding be?
The distance between each molding box is totally up to you, I’ve done as little as 3” and up to 8”. Planning it out on the wall will give you a better idea of what distance looks good.
Check out my double raised panel moulding tutorial and how to do a board and batten wall.


This post contains affiliate links to products that I used or recommend. If you purchase something through an affiliate link, I may receive a small percentage of the sale at no extra cost to you. I really appreciate your support!