How to Install Peel and Stick Wallpaper (The Right Way)

If you’ve been curious about how to install peel and stick wallpaper, it’s genuinely one of the easiest ways to add pattern to a room without committing to a full wallpaper installation. I’ve used it in several rooms in my own house, and it’s still one of the first things I recommend to anyone nervous about their first wallpaper project.
Peel and stick wallpaper, also called removable wallpaper or self-adhesive wallpaper, comes with a backing paper instead of a wet glue application. You peel that backing away section by section and press the paper directly onto the wall.
That one difference is what makes it so beginner friendly. There’s no paste, no booking the paper, and no professional wallpaper hanger required.
When Is Peel and Stick Wallpaper the Best Option?

Peel and stick wallpaper is the best option any time you want a big visual change without a long-term commitment or a complicated installation process.
It’s a great option for renters who can’t make permanent changes, for a single accent wall you want to test out, or for a small area like a powder room or closet where a complex pattern won’t feel overwhelming. I actually used a small-scale peel and stick print inside our secret closet under the stairs for exactly this reason, and it’s also a great fit for a nursery or playroom accent wall if you’re not ready to commit to something permanent.
Where it’s less ideal is a heavily textured or uneven surface. Peel and stick adheres best to a smooth surface, so heavy texture, fresh paint that hasn’t fully cured, or a wall with a lot of damage isn’t a great match. In those cases, a skim coat first, or traditional wallpaper instead, will give you a more seamless look.
Peel and Stick vs. Traditional Wallpaper

The biggest difference between peel and stick and traditional wallpaper installation is the backing. Traditional wallpaper typically needs wallpaper paste and a booking step, where you fold the paper onto itself for a few minutes before hanging it. Peel and stick skips both of those steps entirely.
Everything else about the installation is nearly identical: you’re still working strip by strip, matching your pattern, and using a laser level to keep each panel straight. I cover the paste-and-booking version of this process in my traditional wallpaper tutorial from our dining room makeover, and most of those same principles transfer directly to peel and stick.
If you’d rather skip wallpaper entirely and paint a similar look by hand, I’ve also shared how I did that with a DIY hand-painted wallpaper technique in our guest bathroom.
Not All Peel and Stick Wallpaper Is Created Equal

This is the part people skip, and it’s the reason so many peel and stick projects go wrong. Cheaper peel and stick wallpaper is often lower quality, and it shows during installation. Thin paper tears easily, doesn’t line up cleanly at the seams, and can bubble or lift over time.
My favorite brand for peel and stick is Chasing Paper, and I’m not just saying that because my own wallpaper collection is with them. CNN Underscored named it a top pick in their peel and stick wallpaper testing, specifically for how easily it applied to and removed from bare walls without the flimsiness they found in other brands.
Home Depot’s own installation guidance points to the same fundamentals I rely on, a clean, smooth wall and a slow, section-by-section approach, which tells you these aren’t just my personal preferences but genuinely how the material performs best.
How to Install Peel and Stick Wallpaper Step by Step

Start by measuring the height of the wall and adding a couple of extra inches at the top and bottom for trimming. This gives you wiggle room instead of cutting your first strip too short.
Use a laser level to draw a vertical line near your starting point, usually in a corner or along the left-hand side of the wall. This line is what keeps your first panel straight, and every strip after it depends on getting this first line right.
Peel just a few inches of the backing paper away at a time. This is the single most important tip for peel and stick specifically. If you peel the entire backing off at once, the wallpaper can stick to itself and wrinkle before it ever touches the wall.
Align the edge of the first strip to your pencil line, then press it into place as you slowly peel more backing away. Use a plastic smoothing tool to work out air bubbles as you go, pushing them toward the nearest edge rather than trapping them in the middle of the panel.
For the next strip, butt the edge up against the previous strip and match the pattern before pressing it down. A little careful planning here goes a long way toward a seamless installation with no visible seams.
Once the whole wall is covered, trim the excess paper at the ceiling line and baseboard using a sharp utility knife or a sharp craft knife with a fresh blade. A dull blade is the fastest way to end up with a ragged edge instead of a clean one.
Peel and stick wallpaper doesn’t need any other tools beyond a laser level, a smoothing tool, a tape measure, and a sharp blade, which is part of what makes it such an approachable weekend project. I keep all of mine in the same kit I outlined in my basic DIY toolkit essentials post.
A Few Tips for the Best Results

Work in a room without significant temperature changes, since extreme heat or cold can affect how well the adhesive backing sticks. Clean the wall with a damp cloth and mild detergent beforehand to remove any dust, and let it dry completely before you start.
If you do get a large wrinkle, don’t panic. Peel that section back and reapply it. That’s one of the real advantages self-adhesive wallpaper has over traditional paste, you get a do-over if the first attempt isn’t perfect.
Shop the Best Peel and Stick Wallpaper Patterns
If you’re ready to try it yourself, these are some of my favorite peel and stick patterns from my collection with Chasing Paper, each with a wide range of designs and colorways to fit different rooms and personal styles.
Flower Garland

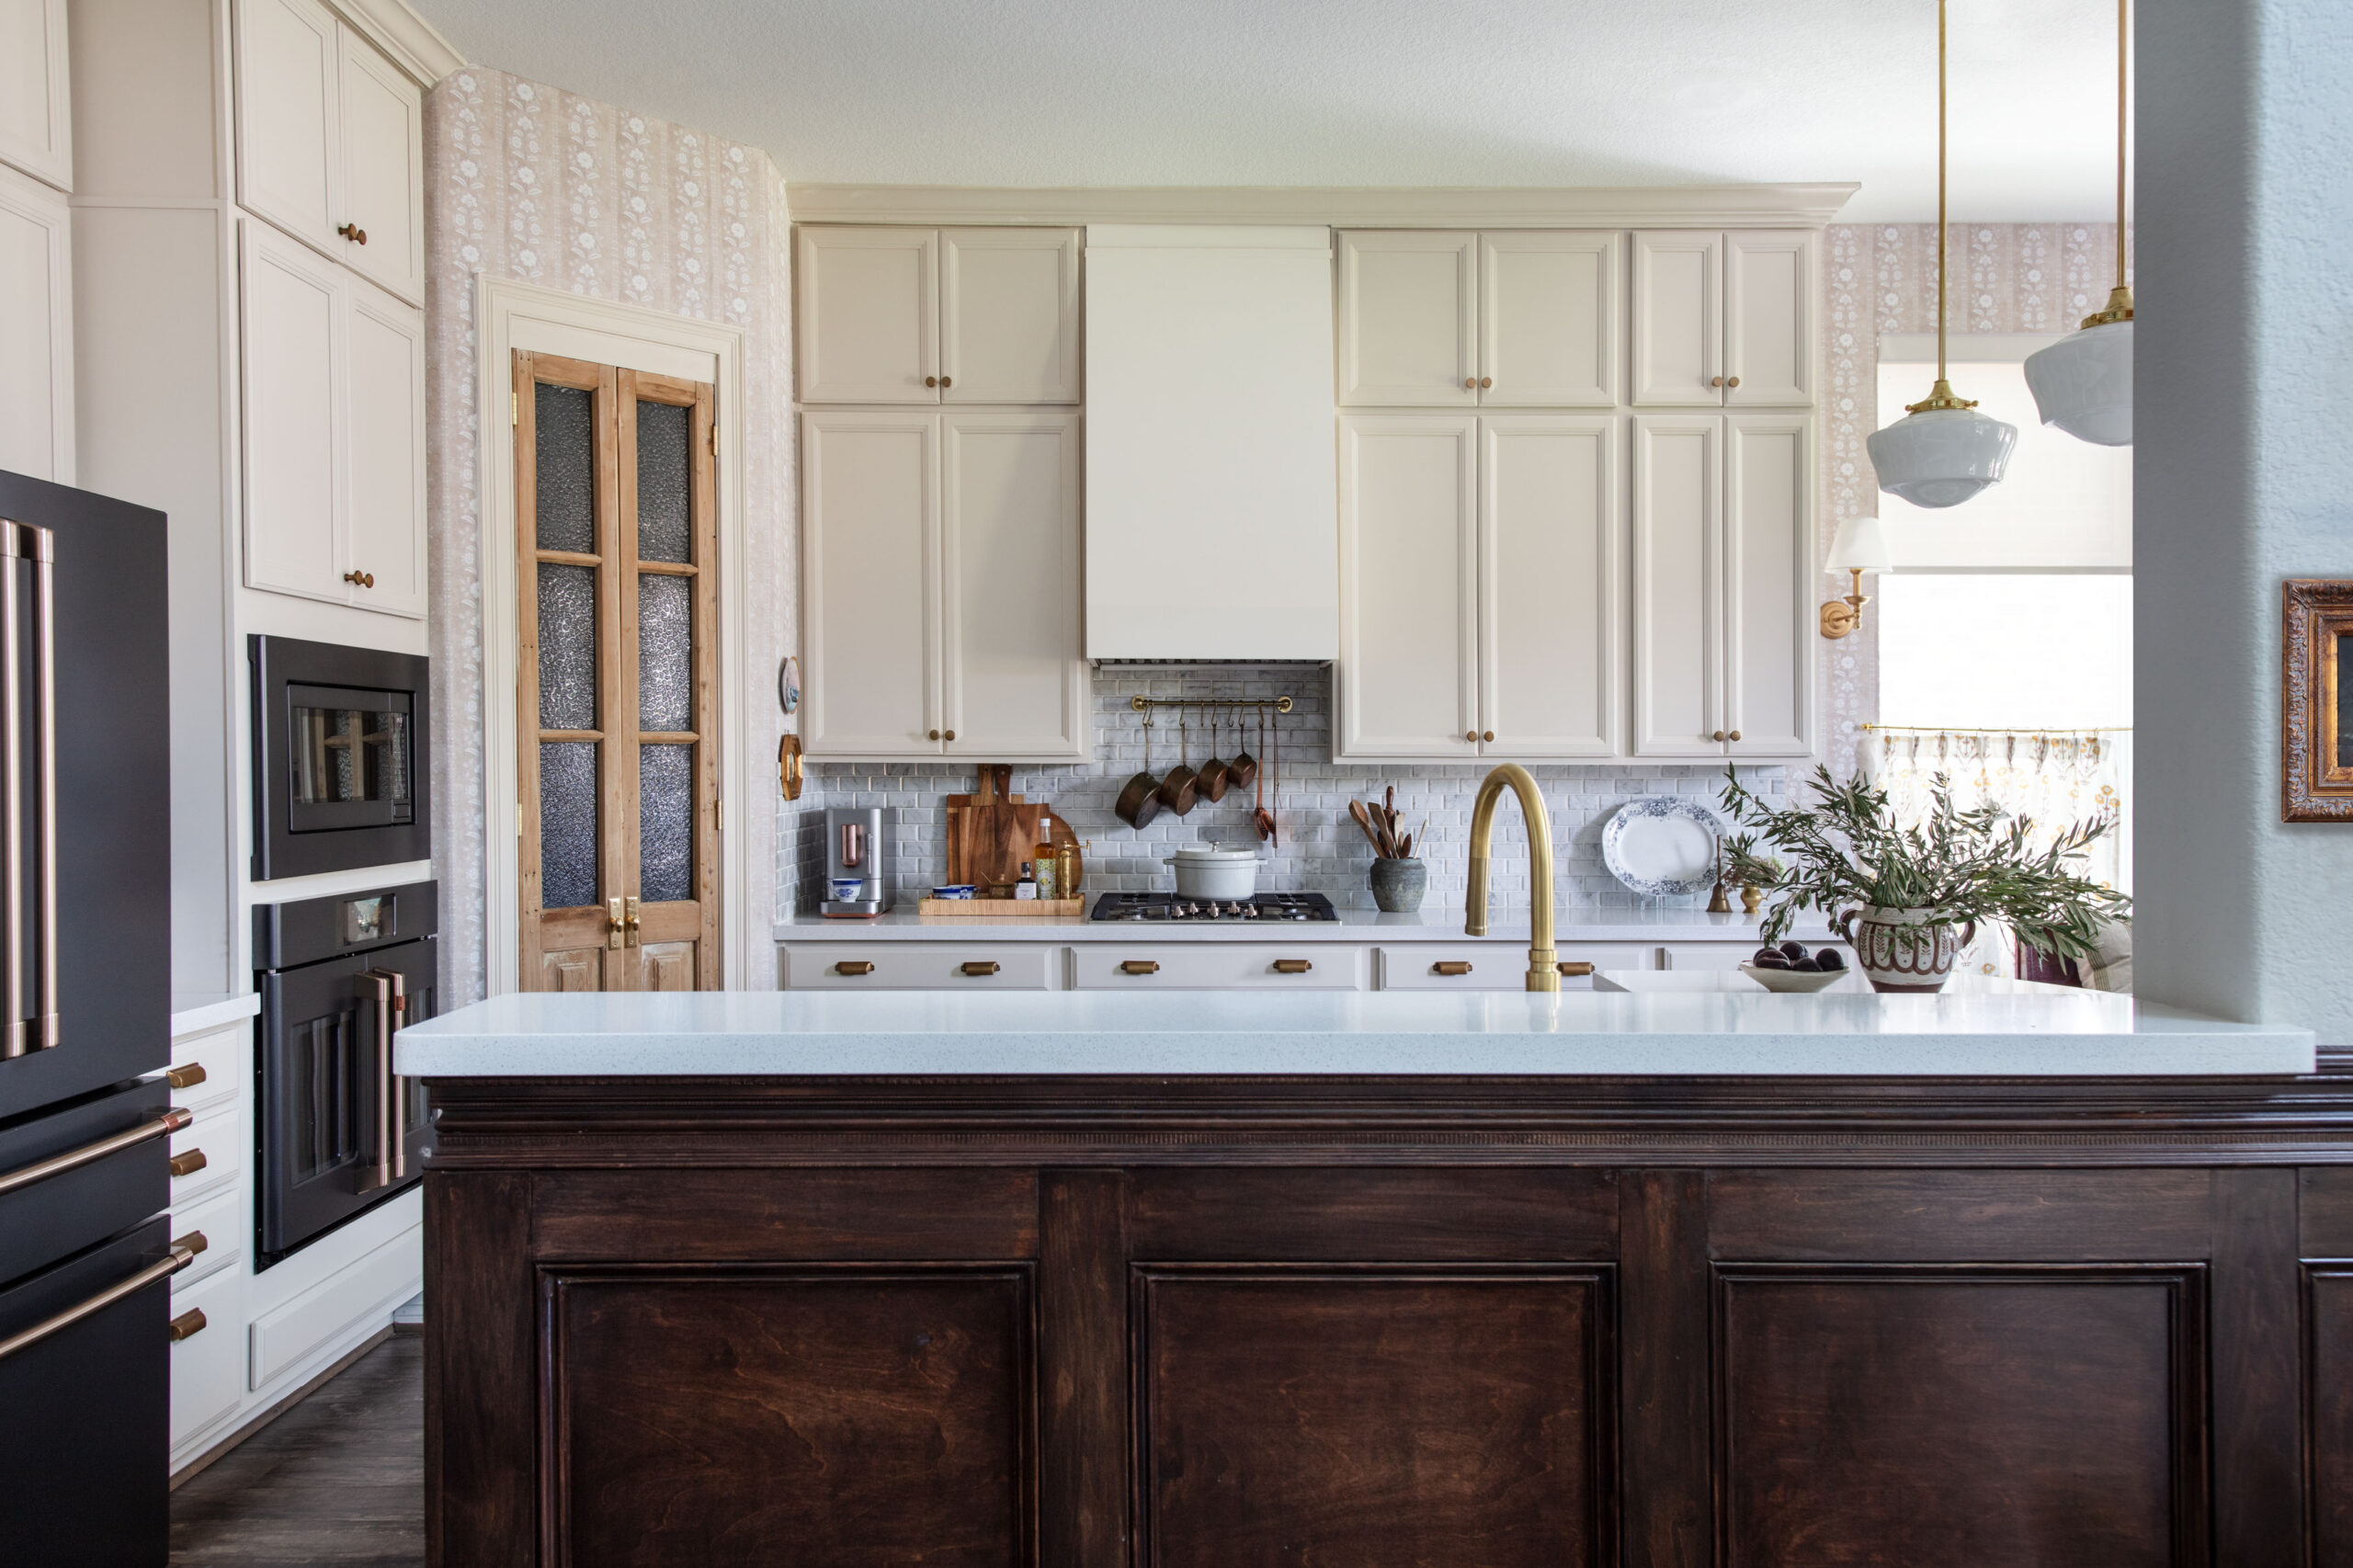
Flower Garland is a soft, vertical floral stripe that works beautifully as a bedroom or nursery accent wall without feeling overly busy.
Ajrak

Ajrak is a bold, geometric block print inspired by traditional Sindhi textile dyeing, and it’s the same pattern I used on our staircase gallery wall, where it made a striking statement wall.
Nargis Block Print

Nargis Block Print has a loose, watercolor style floral motif that reads as soft and airy, a great option for a nursery, bedroom, or powder room.
Haveli Block Print
Haveli Block Print brings a traditional floral block print in a muted, earthy palette that pairs well with warm wood tones and brass hardware.
Jaal

Jaal is an intricate, all-over floral trellis pattern that adds real texture and depth, and it’s close in spirit to the floral wallpaper I used in our vintage-inspired powder room.
Handloom Stripe

Handloom Stripe is a simple woven stripe that works as a quieter backdrop, perfect for pairing with a bolder wallpaper on an adjoining wall or ceiling.
Frequently Asked Questions

Does peel and stick wallpaper damage walls when removed?
No, not when it’s applied to a properly prepped, smooth surface. Quality peel and stick wallpaper is designed to remove cleanly without pulling off paint or leaving behind residue.
Do you need special tools to install peel and stick wallpaper?
No. A laser level, a tape measure, a plastic smoothing tool, and a sharp utility or craft knife are really all you need, which is part of what makes it such an easy way to update a room.
Can you install peel and stick wallpaper on textured walls?
It’s not ideal. Peel and stick adheres best to a smooth, non-porous surface, so heavy texture can lead to visible bubbles or lifting over time.
How long does peel and stick wallpaper last?
Quality peel and stick wallpaper can last for years when installed correctly, though it’s designed to be removable whenever you’re ready for a change.
Peel and stick wallpaper is one of the most approachable ways to bring pattern into your home, whether you’re renting, testing out a bold print, or just want a beginner-friendly first wallpaper project. The installation process really does come down to a few key steps: a straight starting line, peeling a little at a time, and a sharp blade for clean cuts.
This post contains affiliate links to products that I used or recommend. If you purchase something through an affiliate link, I may receive a small percentage of the sale at no extra cost to you. I really appreciate your support!