
Easy DIY Kids Play Kitchen Ideas with Spray Paint
Come see how I gave a play kitchen a tropical glow up! This makeover only involved spray paint and simple accessories from the home!
Table of Contents Show
There’s something so magical about creating a tiny kitchen for your little ones that mirrors your own. Whether it’s for a gift, a rainy-day DIY project, or part of a room makeover, a DIY kids play kitchen can be one of the most fulfilling and creative projects you tackle.
The best part? You don’t need a fancy woodworking shop to pull it off, just a little imagination, a few tools, and a break from the kids.
Let me walk you through how I transformed a plain old toy kitchen into the adorable play kitchen of my little one’s dreams complete with a backsplash, updated oven knobs, and a gleaming farmhouse sink. Let’s do this.
Why Build Your Own DIY Play Kitchen?

Building a DIY kids play kitchen is about more than just looks—it’s about fun.
It’s a chance to create something meaningful with your own hands, tailored to your child’s personality and your home’s style.
Instead of mass-produced plastic, you get to design every detail, from the cupboard doors to the oven knobs, with love and intention.
It’s also a sustainable choice. Upcycling an old nightstand or a thrifted toy kitchen gives new life to forgotten pieces, cutting down on waste while adding charm to your space. And let’s not forget the satisfaction of learning new skills, like using a Kreg Jig or swapping out hardware with pocket hole screws, in a low-pressure, high-reward project.
But the best part? The play. Watching your little one whip up imaginary meals in a kitchen you built together is pure joy. Whether you follow free plans or go totally custom, this is one DIY that gives back in memories and magic.
You’ve got this. Let’s build something beautiful.
How to Build a DIY Kids Play Kitchen
Building your own DIY play kitchen is a great option and one of those fun DIY projects that gives some real-life purpose. Your little one is going to love it! The first step is planning. Then the second step is to get to it.
Here are the tools and steps to get you going:
Tools & Supplies Checklist
Here’s everything I used or recommend (some of these include affiliate links that help support this blog):
- Spray Paint (Heirloom White or any color you love)
- Chalk Paint (optional for details)
- Kreg Jig
- Pocket Hole Screws
- Wood Glue
- Brad Nails/Nail Gun
- Circular Saw or Miter Saw (optional)
- Drill + Drill Bits
- Faux Sink Bin
- Wallpaper or Contact Paper
- Oven/Stove Knobs
- Measuring Cups
- Dollar Tree Bins
- Puck Lights
- Paint Brushes
Step 1: Find Your Base (Start with Old Furniture or a Thrifted Kitchen Set)

If you’re on a budget (hello, who isn’t?), start by looking for second-hand kitchen sets. You can usually score one at your local thrift store, Facebook Marketplace, or even a Habitat for Humanity Restore. We found ours already built, but outdated and in need of a little TLC.
Old entertainment centers, kitchen cabinets, or even an old nightstand can also make excellent starting points for a fully custom DIY play kitchen.
Step 2: Disassemble and Prep
Take everything apart carefully. Doors, knobs, handles, and hardware. Use painter’s tape to label pieces and make reassembly easier later.
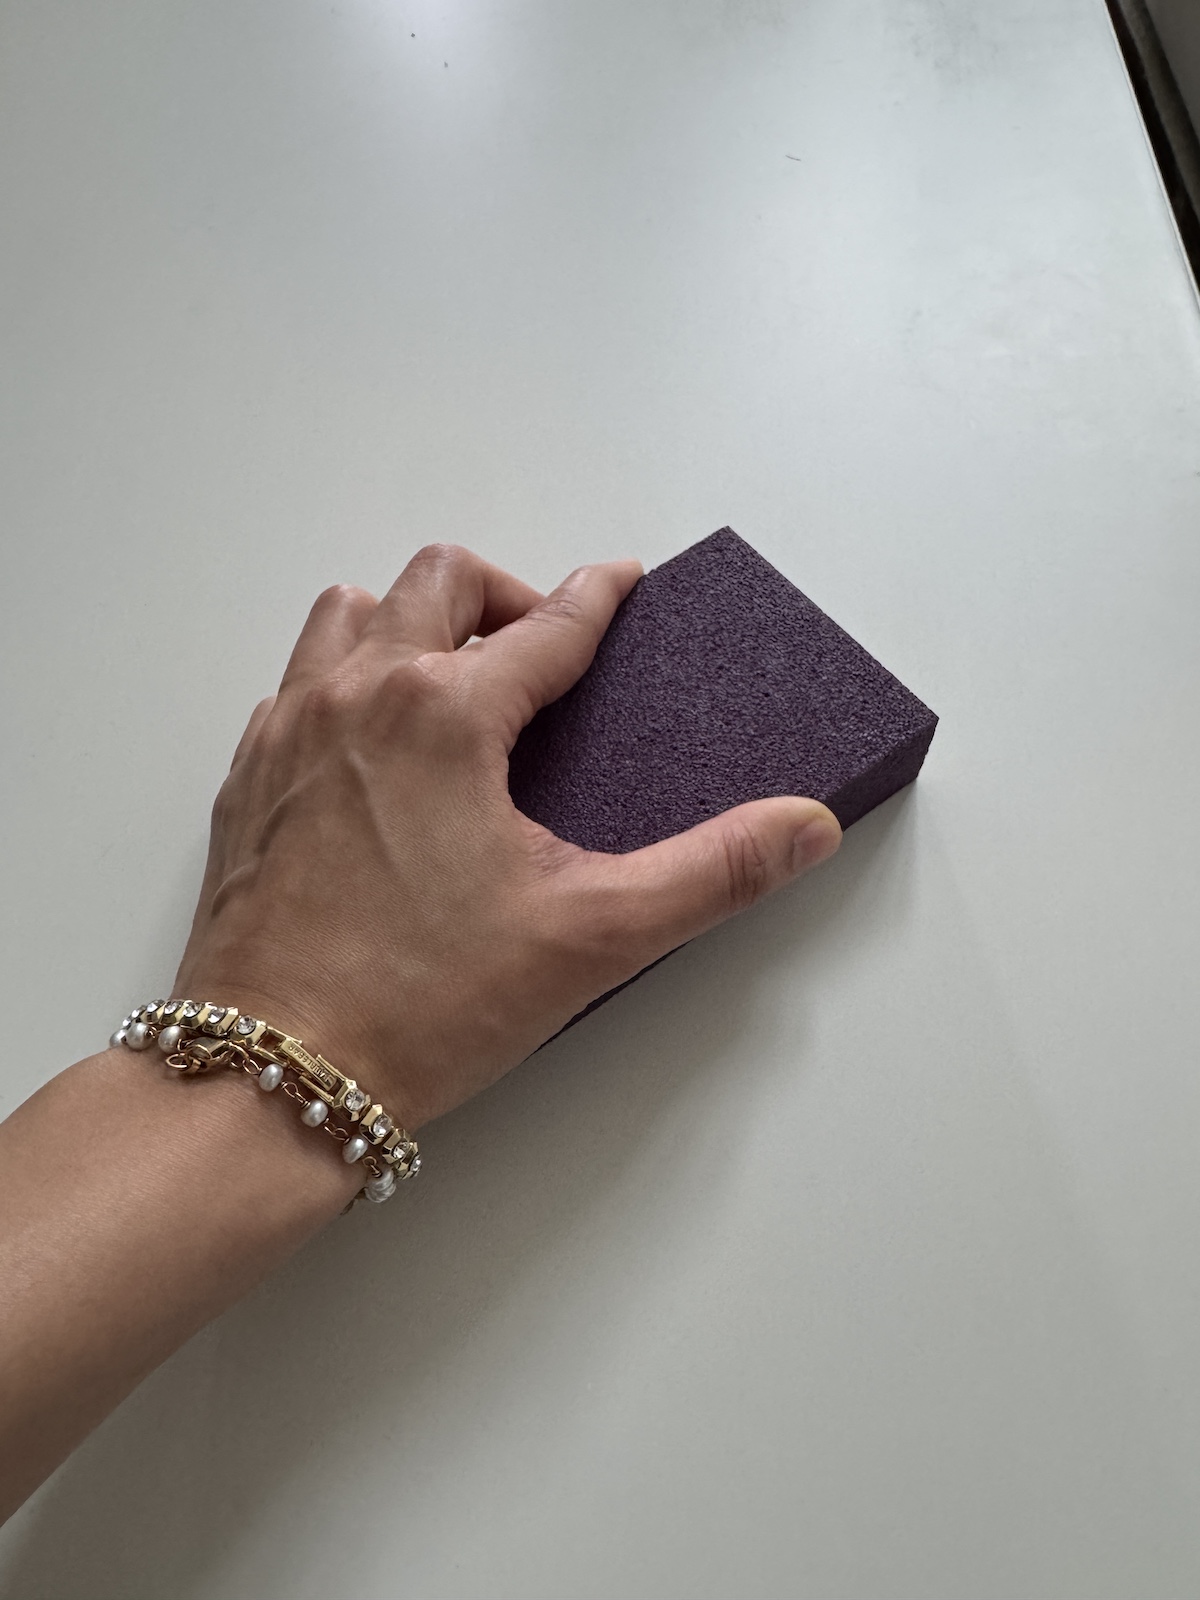
Sand down glossy finishes using a sanding block or an electric sander to help your paint or primer stick. Don’t skip this step unless you want your new kitchen peeling like a bad sunburn.
Step 3: Time to Paint
I initially tried to paint with a roller and some leftover interior paint. Total fail. It wouldn’t go on smoothly, and just kept peeling. So I grabbed a couple of cans of spray paint in Heirloom White (a warm, creamy tone) and never looked back.
Here’s what you’ll need:
- 2–5 cans of spray paint (depending on the size and finish of your base)
- Chalk paint (optional for detail work)
- Gold acrylic paint for hardware
- Clear sealant for extra durability
Let everything dry overnight for the best results.
Step 4: The Farmhouse Glow-Up

This was my favorite part! I hand-painted the faucet in a soft gold to mimic brass and added a black plastic bin to serve as a DIY farmhouse sink. Super chic and easy to clean.
Consider adding:
- Puck lights (stick-on and battery-powered) inside the microwave or oven
- A printed wallpaper or peel-and-stick tile backsplash (I used leftovers from a ceiling project!)
- Real kitchen elements like measuring cups, mixing bowls, and play food for imaginative play
Step 5: Hardware and Accessories
Swap out the generic plastic oven knobs with real oven knobs from Home Depot or salvage shops.
Use wood glue and a nail gun or brad nails to attach handles and decorative details.
Step 6: Style It Like a Real Kitchen
Don’t forget styling. This is what makes your play kitchen feel like an extension of your own.
Ideas:
- Add greenery or faux plants
- Use bottle caps for DIY stove burners
- Hang tiny dish towels or kitchen tools from hooks
- Include a rug or faux fur mat to create a cozy corner in the living room
You can get a ton of styling items from Dollar Tree, Dollar Store, or even use things from around your home. The result? A cool kitchen that sparks creative play and fits seamlessly into your space.
Step 7: Show Off Your Finished Product

Once everything is dry, reassemble the pieces and marvel at your creation. You’ll have a perfect size kitchen set that looks custom, high-end, and completely unique.
Whether your child is a big kid or just starting out with pretend play, this DIY project will be one they remember for years to come.
Best Tips for Updating a Play Kitchen

Whether you’re starting from an old nightstand or picking up a secondhand toy kitchen, these tips will help your makeover go smoother and look more polished in the end.
Use Pocket Holes for a Seamless Finish
When you’re adding structure, like extra shelves, a backsplash, or side pieces, opt for a Kreg Jig to create pocket holes. It keeps screws hidden and the design clean. Pair with Kreg screws and a good drill bit for durability.
Prime or Sand—Don’t Skip It
If you’re working with laminated furniture or glossy surfaces, always sand first. It gives paint something to grip. For even better results, use a bonding primer if you’re not using chalk or spray paint.
Swap Out Hardware for Instant Upgrade
Just like in a real kitchen, hardware makes a huge difference. Replace plastic pulls with brass or matte black handles. Change the oven knobs and stove knobs for a more realistic feel, Home Depot has affordable options.
Get Creative with the Sink
You don’t need a real sink basin. I used a black storage bin as a DIY farmhouse sink. Dollar Tree or your own pantry might have something similar in the right size.
Backsplash is a Game-Changer
Add stick-on tiles or extra wallpaper from another project to create a backsplash. It gives the kitchen dimension and style.
My tropical wallpaper came from a ceiling project, and spliced sections worked perfectly behind the faucet.
Lighting Adds Drama
A couple of puck lights inside the microwave or above the “counter” add charm and functionality, especially if your play kitchen doubles as a nightlight corner.
Think Like a Designer
Use contrast. Mix neutrals with a pop of color. Use gold or brass accents to add sophistication. Think about the top of the cabinet, the bottom of the kitchen, and how it fits in your living room or play area.
Use Real Kitchen Items
Incorporate a few real utensils or measuring cups to elevate the realism. Look for kitchen tools at your thrift store or pick up a few at Home Depot while getting your supplies.
Style Like You Would Your Own Kitchen
Add a little plant, a rug, maybe even a woven basket for storage. These finishing touches will make the finished product shine, and your kids will love it even more.
Plan It Out First
Sketch your layout or save some free plans online. It’ll save you time when you’re mid-project and trying to remember where that one door goes.

Check out the full playroom makeover and Eesa’s Storybook Nursery project here:


This post contains affiliate links to products that I used or recommend. If you purchase something through an affiliate link, I may receive a small percentage of the sale at no extra cost to you. I really appreciate your support!


2 comments
How cute! The touch of palm wallpaper is such a fun touch
aah thank you so much Lindsey! I love that wallpaper so much 🙂