Easy DIY Wood Wall Treatment Ideas for Your Home

What do Joanna Gaines, Shea McGee, and Amber Interiors have in common? Well, they’re all amazing interior designers to start with but they each have a definitive personal style you can spot from a mile away. Developing a unique look and design style takes ages but I will show you one of my favorite ways to add character to your own home. Millwork and wood wall treatments are a great way to give your home visual interest and make it look unique. In this post I will show you my favorite DIY wood wall treatment ideas that you can do yourself and transform an entire room.
Why DIY Wood Wall Treatments?
If this is your first time, you’re new to the world of DIY, don’t worry, I got you. Start by building out your toolkit first and once you’re comfortable using power tools, meet me back here! Wood wall paneling and trim work in general is a great way to start your DIY journey. These are simple, beginner friendly projects that can be transformative and make a space feel high end.
Alternatively, you could hire out these projects and just use this guide as a resource for decorative walls inspiration. The only thing is, you need to have a much bigger budget. Carpentry and millwork can be very expensive to hire out depending on where you live and the quality of work you’re getting. With a little bit of skill and some handy tools, you can definitely teach yourself how to DIY your own wall paneling ideas.
Easy DIY Wood Wall Treatment Ideas
Without further ado, here are some of my favorite wall treatment ideas to give your home some visual interest:
Picture Frame Molding
Welcome to the gateway drug to DIY wall paneling ideas: Picture frame moulding is a classic wall treatment that adds architectural interest to any room. This technique involves creating rectangular or square frames on the wall using thin pieces of trim. You can use picture frame moulding to create a traditional wainscoting look, or you can take a more modern approach by painting the frames a contrasting color. You can create your own custom design by varying the size of the boxes or even adding decorative elements to the corners. You can get pre made wood appliques for an ornamental, vintage inspired look.Here’s a fun fact: you can actually cut picture molding with miter shears as well and you don’t even need an electric saw for it! It’s thin and easy to cut with shears, making it the perfect beginner friendly DIY project.

Double Raised Panel Moulding
For a more formal, dramatic look, consider installing double raised panel moulding. This style features two layers of moulding, with the inner panel raised slightly higher than the outer frame. Double raised panel moulding adds depth and elegance to a room, making it ideal for a dining room or even living room. In fact, this was one of my first DIY projects for trim work and it was an easy way to add oodles of character to our blank white walls.

Traditional Board and Batten Wall Design
Board and batten is a classic wall treatment that involves installing vertical boards under a horizontal board that runs across the width of the wall. This creates a timeless look that works well in both traditional and modern settings. The horizontal board is usually installed at chair rail height, around 32 – 48″ (depending on the ceiling height). For my playroom makeover I just did this board and batten design on one wall but it looks best when you wrap it around a room. I plan on adding wallpaper to the rest of this room one day and adding on to the look.

Beadboard Wall Panels
Beadboard is a type of paneling that features narrow vertical grooves (beads) running the length of the board. Beadboard adds a charming, cottage-style look to any room and can be used on walls or ceilings. It’s relatively easy to install and can be painted or stained to match your décor. It usually comes in 4×8′ panels so if you want to cover an entire wall with beadboard you will most likely get a seam at the top or bottom. I like to use it at the bottom half of a wall for a traditional look. You can play around with the wall decor by painting the beadboard panels a different color from the rest of the walls. In my laundry room I added bead board to the bottom half of the wall and wallpaper to the top half.

Simple Chair Rail
A chair rail is a horizontal moulding installed on the wall at chair height. It’s traditionally used to protect walls from chair backs but can also add visual interest to a room. A simple chair rail can be installed on its own or paired with other trim styles for a more elaborate look. I recently did a dining room where there was a minimalist chair rail on all walls of the room and I added wallpaper on the top half for a timeless look.

Vertical Shiplap
Shiplap walls, once commonly used in exterior siding and in barns, gained popularity as an interior wall treatment thanks to Joanna Gaines. Vertical shiplap just means you install the boards vertically instead of horizontally, creating a clean, modern look. Shiplap panels can be bought pre-made or you can make your own by ripping down sheets of plywood using a tablesaw. In this bedroom, I covered the entire room in vertical paneling and also added it to the ceiling for a seamless look.

Traditional Tongue and Groove
Tongue and groove paneling features interlocking boards that create seamless, wooden walls with grooves. This type of paneling is commonly used on ceilings but can also be used on walls for a classic, elegant look. Tongue and groove paneling can be painted or stained to match your decor. How is this different from shiplap? Great question – the only difference between a shiplap and tongue and groove boards is how the individual boards connect with each other. The overall look is the same. Tongue and groove boards come in different widths, you can get a skinny vertical board look or a wider panel.
Geometric Accent Wall
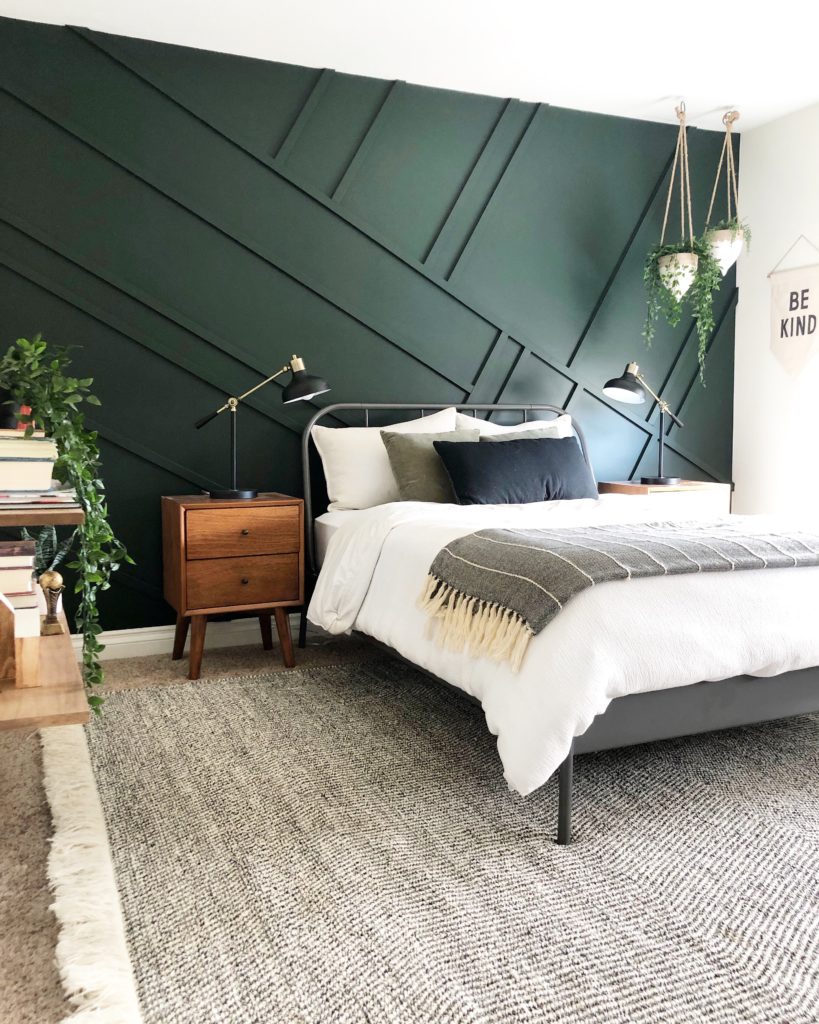
For a modern, artistic look, you could do a geometric accent wall using thin wood planks. You can create geometric shapes such as triangles, squares, or hexagons, and arrange them in a pattern on the wall. This does require a little practice on the miter saw to cut those angles but if you’re into geometric patterns it’ll be totally worth it. This type of wall treatment is great for small spaces. You can also buy pre-made wood slats and make your own design. I personally have not done this type of wood paneling because I’m not a huge fan of geometric patterns. Personal preferences should always override design trends! Having said that, it’s the perfect choice for an easy beginner friendly project for a dramatic effect.

Reeded Wall Moulding
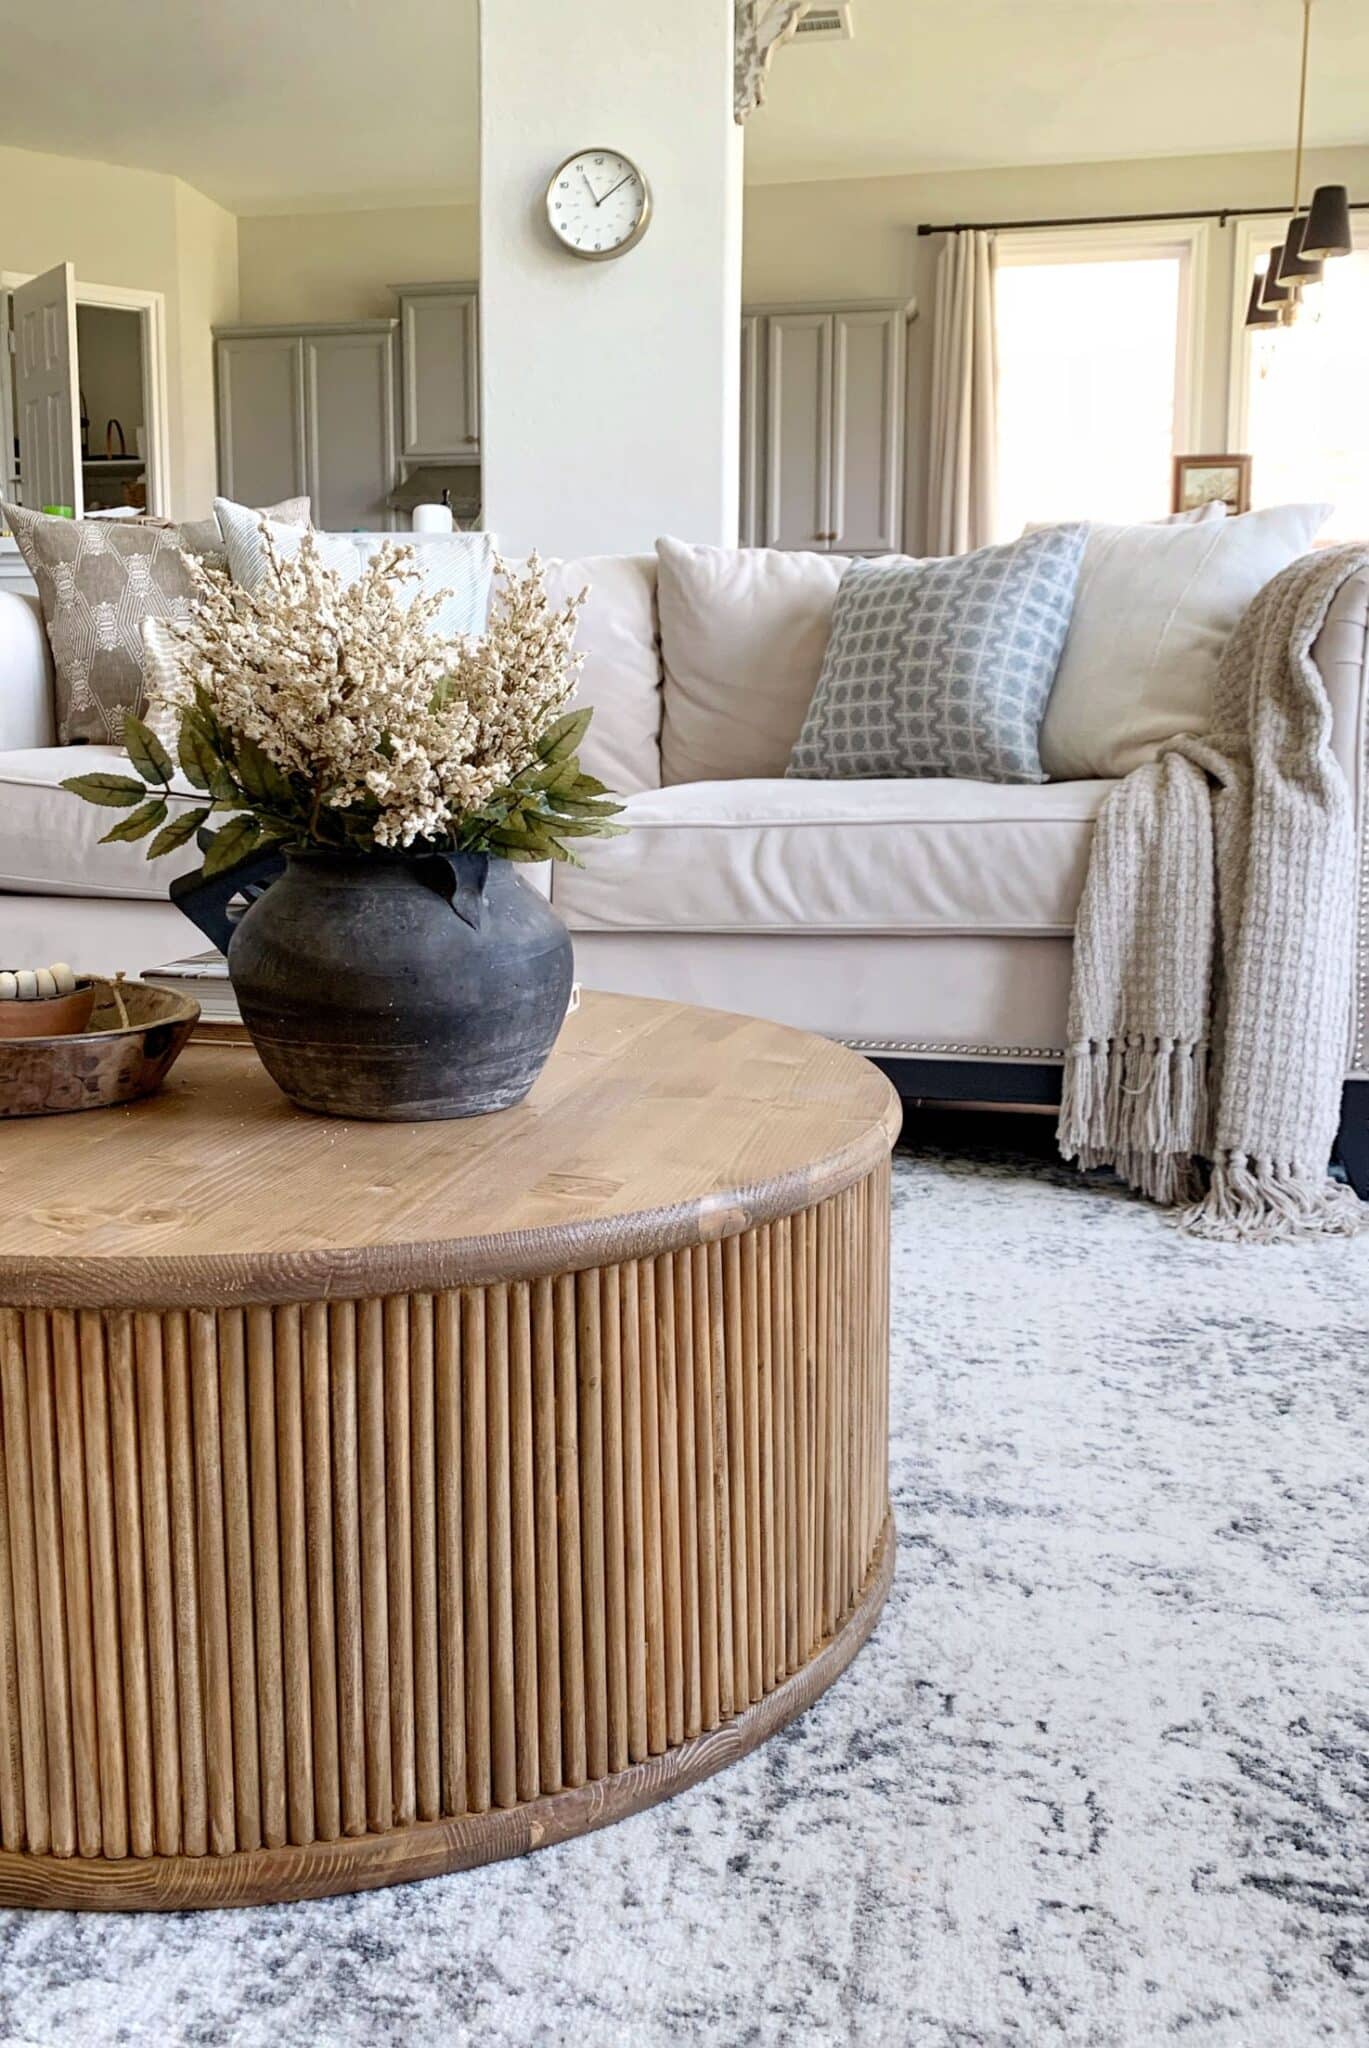
Reeded wall moulding features vertical grooves (reeds) carved into the wood, creating a textured effect. It can also be called fluted trim and can be purchased in many different styles. A lot of manufacturers make reeded trim boards and you can install individual boards next to each other for a unique look. I created this look for my main bedroom wall and I painted it the same color as the rest of the room for a cohesive look. The best part is you can customize to your liking with additional trim pieces.

Box Moulding or Wainscoting
Box moulding, also known as wainscoting, is a classic wall treatment that involves installing panels on the lower half of the wall. This creates a traditional, elegant look that works well in formal dining rooms, entryways, or staircases. Box moulding can be painted or stained to match your décor and can be paired with a chair rail or picture frame for added detail.

Wallpaper in Picture Frame Moulding
If you want to add pattern and color to your walls, consider using wallpaper in picture frame moulding. This technique allows you to create a custom look by framing sections of wallpaper with wood moulding. Wallpaper can add texture and interest to a room and if you’re using peel and stick, you could easily swap it out for a new look. I think this is a great choice for adding pattern to a space and it’s a look that hasn’t been over done.

Mix and Match Paneling

Okay so this isn’t officially a thing but consider mixing and matching different types of paneling on your walls. You can combine beadboard with shiplap, or mix traditional tongue and groove with a skinny slat wall on top. Mixing and matching paneling adds depth and visual interest to a room and allows you to create a custom look that reflects your style. I went out of my comfort zone for my guest bedroom and tried something I hadn’t seen before. I installed box moulding on the bottom half of the room and beadboard panels on the top half and painted every surface the same color! I am still obsessed with the look.
FAQs about DIY wood wall panels
What is an accent wall or feature wall?
An accent wall or feature wall is like the star of the show in your room design. It’s a single wall that’s different from the rest, either in color, texture, or design. Think of it as a beautiful focal point that adds a pop of personality to the space. The key here is that it’s ONE wall that’s different and not all the walls in a room. This design choice is more trendy and modern rather than covering an entire wall with a particular kind of wall treatment. I’ve done my share of accent walls in my home because they’re cheaper to do than a whole room and they obviously take less time. For a beginner DIY-er it’s a great way to dip your feet into modern design.
Should I do a feature wall or add the wall paneling to the entire room?
Well, that depends on the vibe you’re going for and how much of a statement you want to make. If you want to keep things more modern, go for a feature wall—it’s like a bold accent without overwhelming the whole room. But if your home design is all about that cozy, traditional feel, covering the entire room with wall paneling can really amp up the visual appeal. Think high end transitional design, a cottage core vibe and a historic or vintage aesthetic. That’s what you can achieve with all over wall covering designs. It can be more expensive to source building material for an entire space, but if your budget allows for it, I highly recommend going this route.
What is the cheapest way to panel a wall?
If you’re on a budget but still want that wall paneling goodness, you can’t go wrong with good old plywood or MDF (medium-density fiberboard). These materials are wallet-friendly and can be easily cut into panels to cover your walls. Plus, you can get creative with paint or stain to give them a custom look without breaking the bank. The cheapest from those options is Pine plywood boards. You can get 1/4″ thickness panels and rip them down to strips of wood using a tablesaw to make your own shiplap wall panels. This is tedious but saves A LOT of money.
What kind of wood is used for wall panels?
Ah, the wood question! You’ve got a bunch of options here depending on your taste and budget. Pine is a popular choice for its affordability and rustic charm, while oak and maple bring a bit more elegance to the table. And if you’re feeling fancy, you can splurge on exotic woods like cherry or walnut for a truly luxe vibe. However, if you’re buying a natural beauty like those fancy real wood boards, I would definitely stain them to preserve the wood grain. Honestly though, I’ve yet to see interior walls clad in fancy solid wood like walnut or teak. MDF is also very commonly used for wall treatment looks because it has a flat, smooth surface without grain. If you want a modern, painted finish on your wooden panels, MDF makes for a great option.
Is wall paneling a trend or is it a timeless look?
You know, wall paneling is like that trusty denim jacket in your closet—it never really goes out of style. Sure, it might have its moments where it’s super trendy, but at its core, it’s a timeless look that can adapt to any decor style. So whether you’re channeling french country farmhouse or mid-century modern look, wall paneling is here to stay. It’s the way you incorporate it into different designs that makes it timeless or trendy. Barn wood is an example of a trendy type of wall treatment that was popular a few years ago. Rustic wood is great for ceiling beams and shelves but doing a feature wall with barn wood will age the wall design. Similarly, leave the herringbone pattern for the floors, that rustic wall design is also a trend that has passed.
What if my walls are textured?
Don’t let wall texture get in your way of wood accent wall ideas! I have done wall paneling on top of slightly textured walls and it’s not that noticeable. However, the cleanest look is if you cover up the texture with mud (joint compound) also known as floating the wall. OR an easier way to cover up texture is by installing thin hardboard tempered panels on the entire wall. These are really thin sheets of wood usually 1/8″ thickness and come in 4×8′ panels. I’ve used both methods to cover up texture and I like eucaboard/tempered panels easier than mudding a wall.
I hope you enjoyed this visual resource to different types of DIY wall moulding ideas! Hopefully this is enough to get you started on your projects but if you’re looking for more design inspiration, here’s a great guide on how to get the cottage core design aesthetic on a budget!


